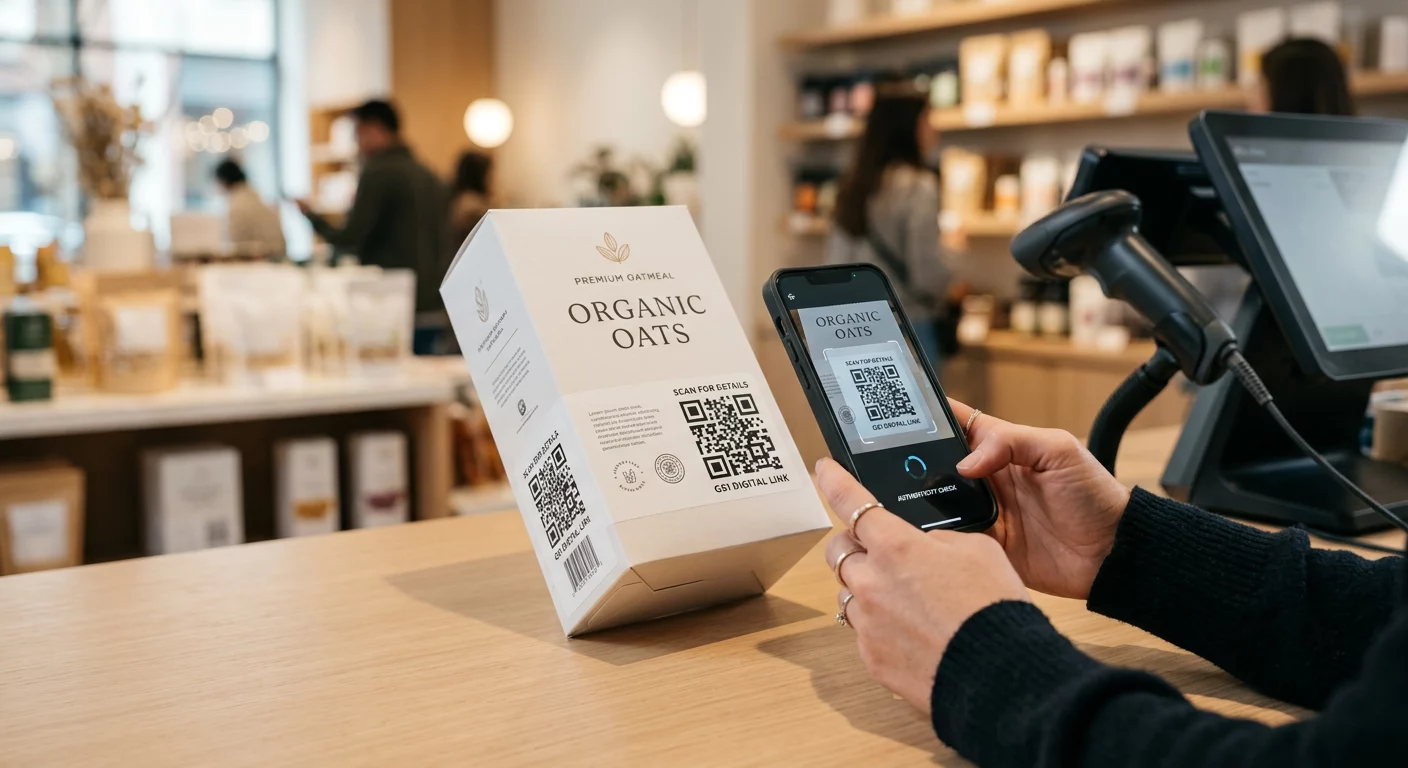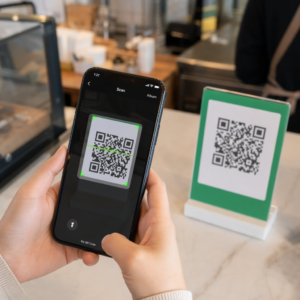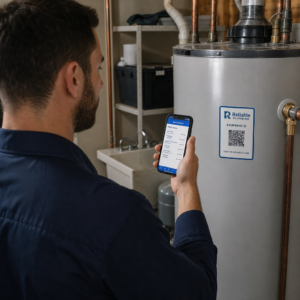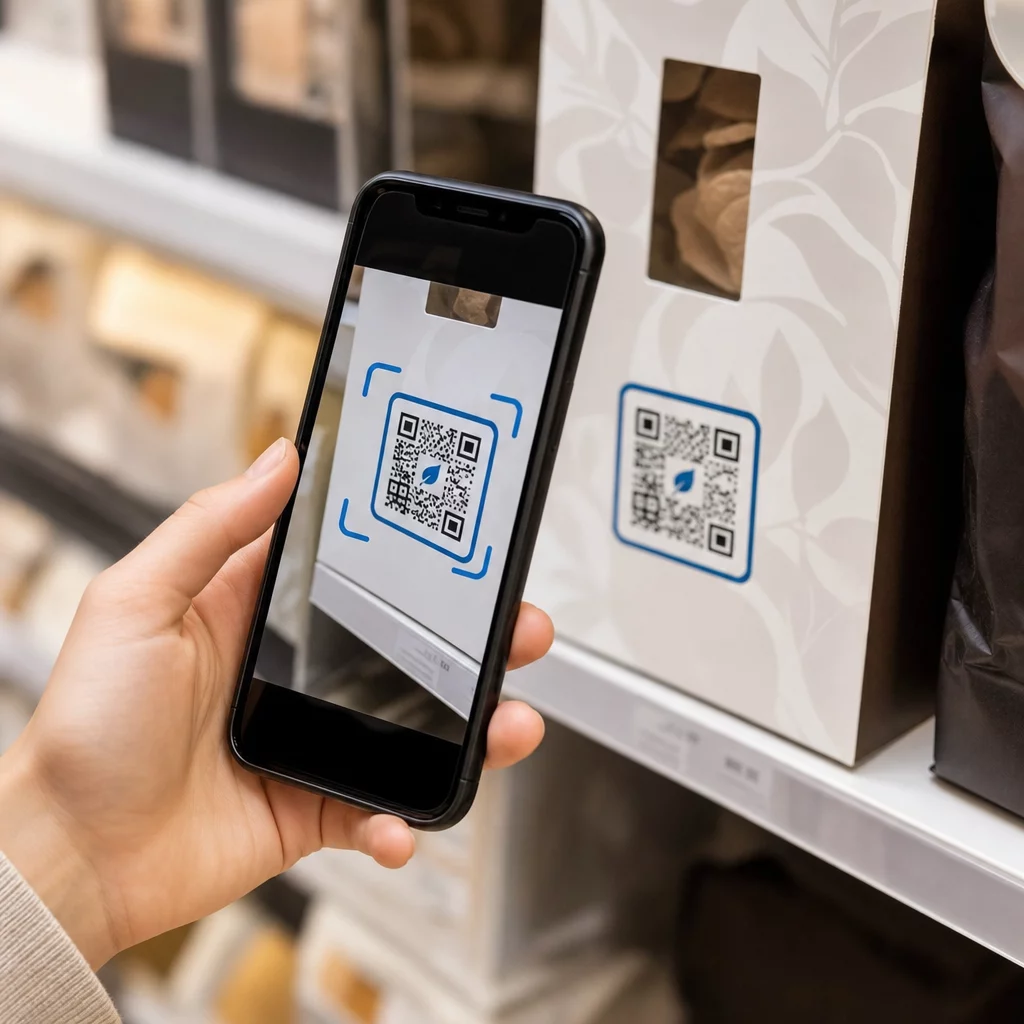
QR code labels let a customer go from the package in their hand to a product page, a manual, a reorder link or a support chat in one scan. This guide shows how to make a QR product label that scans on the first try: which code type to use, how big to print it, where to place it, and what to test before a full print run.
QR Code on Product Labels: The Short Answer
- Size: print the code at least 2 x 2 cm (0.8 x 0.8 inches). Use 2.5 to 3 cm if customers scan from a shelf or a counter.
- Quiet zone: keep a blank border of at least 4 modules (about 4 to 8 mm on a label) on all four sides.
- Colors: dark code on a light background. Black on white is the safest.
- Resolution: use a vector file (SVG, PDF or EPS) for print. If you use PNG, export it at the final print size at 300 dpi.
- Type: use a static code for a link that will never change. Use a dynamic code if the destination might change or you want scan statistics.
- Test: print one on the real label material and scan it with two or three phones before you order the full run.
Why QR Codes Belong on Product Labels
A printed label has limited space and cannot be updated after it is printed. A QR code adds more room: ingredient and sourcing details, setup videos, warranty registration, user manuals and spare-part lists can all sit behind one small square.
Typical uses of a QR code on a product:
- Product information: specifications, ingredients, allergens or care instructions that do not fit on the label.
- Manuals and setup: a PDF manual or a short video, so you can print a smaller leaflet or none at all.
- Reordering: a direct link to the product page, useful for consumables such as filters, coffee or cleaning supplies.
- Support: a link to a help page, a form or a WhatsApp chat.
- Recycling and returns: disposal instructions or a return form.
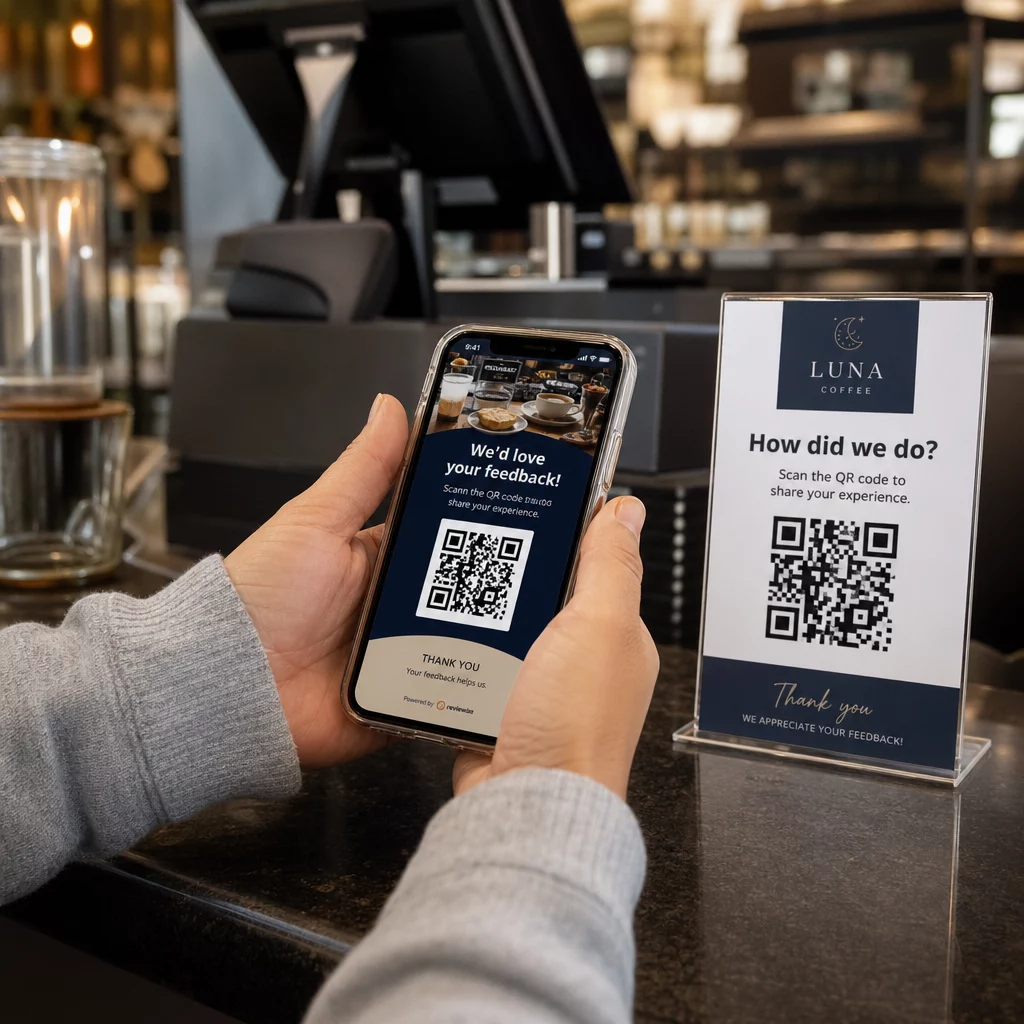
- Offers and loyalty: a discount code, a sign-up page or a review request after purchase.
For a wider look at packaging types and the customer experience, see the guide to QR codes on product packaging.
Choose a Dynamic QR Code or a Static One
A static QR code stores the destination inside the pattern. It is free to make, it never expires, and it works as long as the page it points to exists. If that URL changes, the printed code points to the wrong place and you must reprint.
A dynamic QR code stores a short redirect link, so you can change the destination at any time without changing the printed code. On product labels this helps in three ways:
- You can swap a seasonal promotion or landing page without a new print run.
- You can fix a broken or moved link right away.
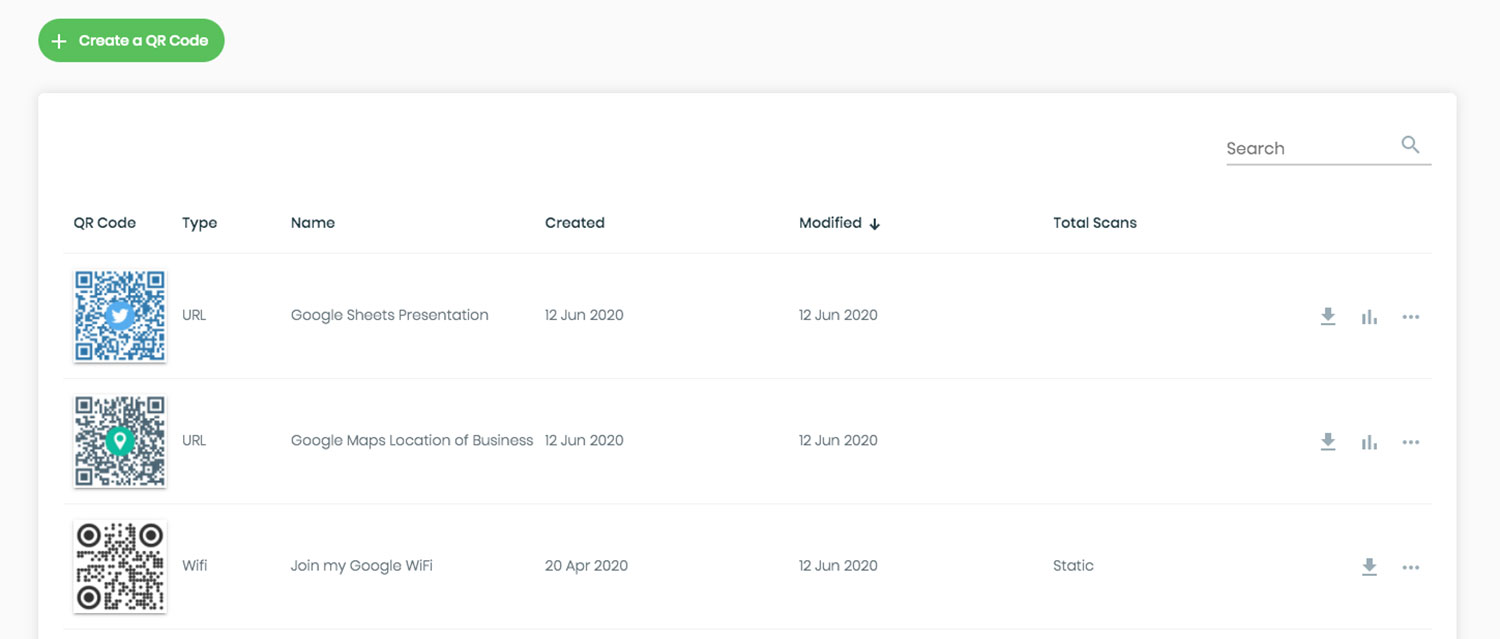
- You can see scan statistics: when, where and on what device people scanned.
Use a static code when the link is permanent, for example a manual hosted on your own site. Use a dynamic code when labels will stay on shelves for months and the destination may change. You can create a QR code for your product label with the free Pageloot generator. Dynamic codes come with a 14-day free trial, and plans are listed on the Pageloot pricing page.
Track Every Scan From Your Product Labels. To see where and when customers scan your packaging, create a dynamic code with the Pageloot QR Code Generator and use the scan dashboard.
How to Make QR Code Labels: Step by Step
- Decide where the code should lead. Pick a mobile-friendly page and keep it short and fast to load.
- Open the QR code generator, choose the type (URL, PDF, video or other) and enter the destination.
- Choose static or dynamic. Tick the dynamic option only if you want to edit the destination later or track scans.
- Keep the design simple: dark code, light background, no gradients behind the pattern.
- Download a vector file (SVG or PDF) for the label designer, or a PNG at the final size.
- Place the code on the label artwork at the planned size, with the quiet zone and a short call to action next to it.
- Print a test label on the real material and scan it before the full run.
Size: How Big Does the Code Need to Be?
Size is the most common reason a label QR code fails to scan. If the code is too small, the phone camera cannot separate the individual modules (the small squares that make up the pattern).
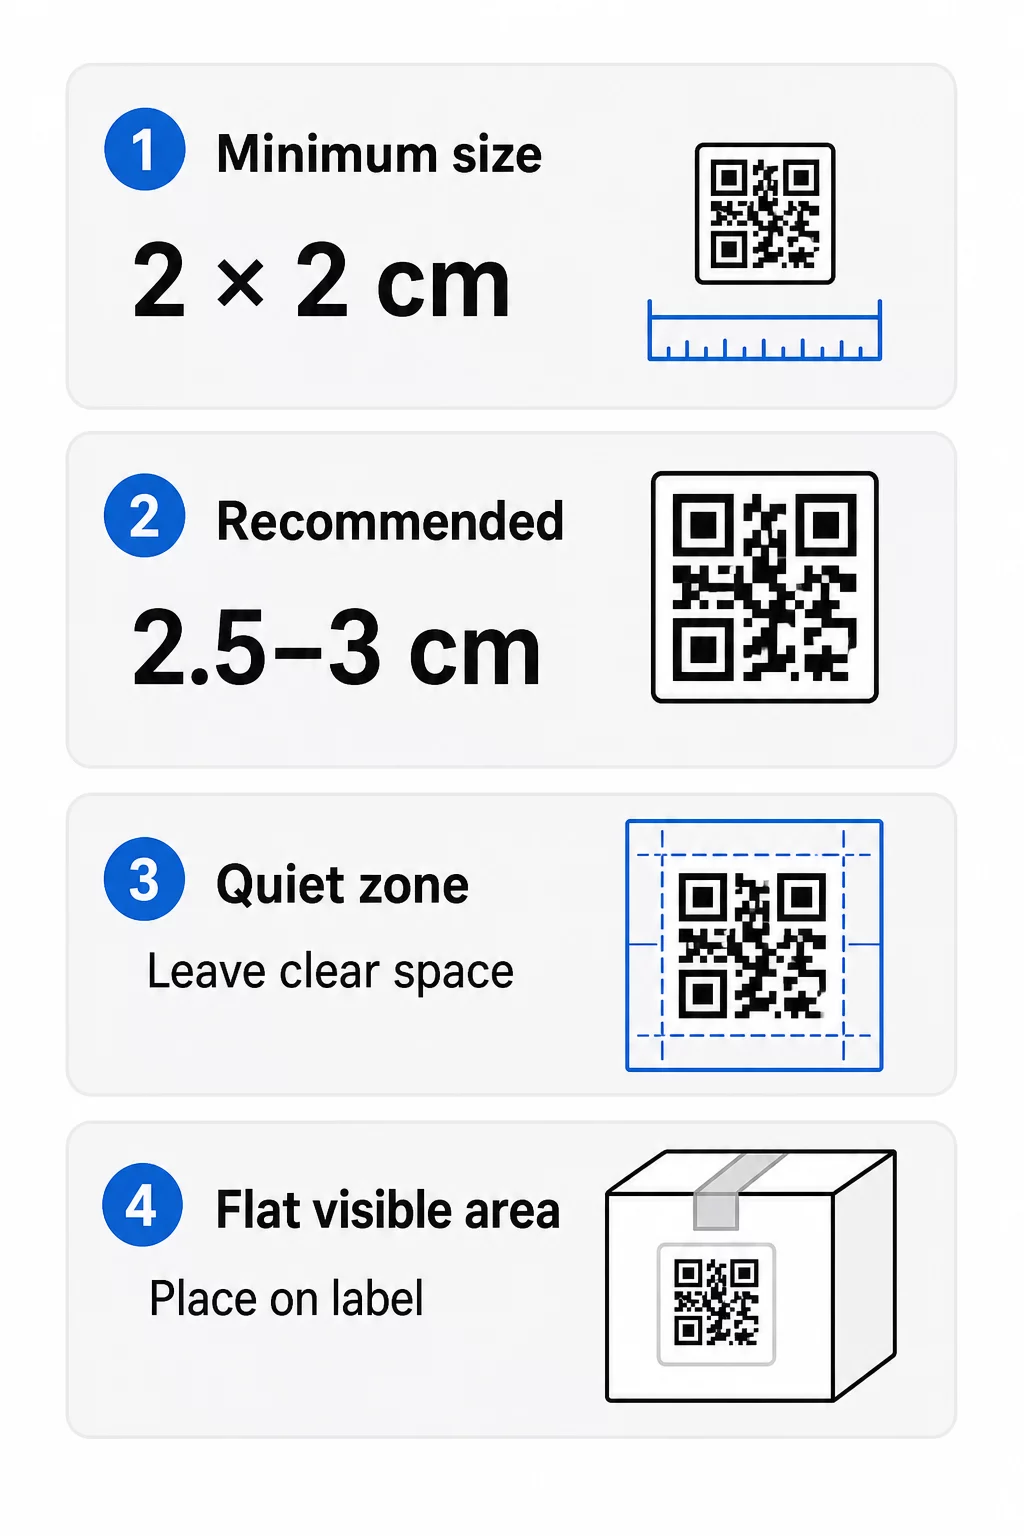
- Absolute minimum: 2 x 2 cm (0.8 x 0.8 inches) for a code scanned at arm’s length.
- Recommended for product packaging: 2.5 to 3 cm per side.
- Distance rule: a phone reads a code from about 10 times its width. A 3 cm code scans from about 30 cm (12 inches); a 10 cm code from about 1 m.
- Dense codes need more room: a long URL makes a denser pattern with smaller modules. Use a short link, or a dynamic code, to keep the pattern simple.
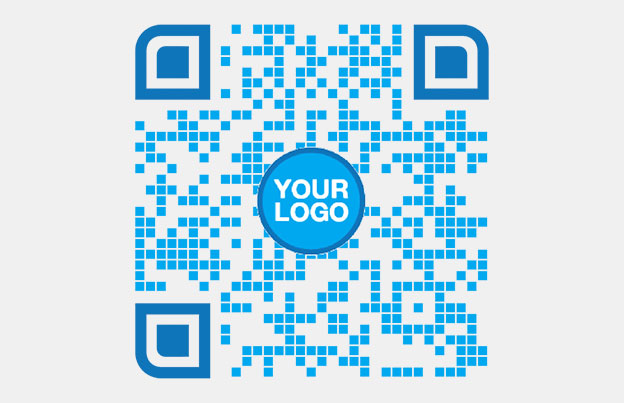
If you add a logo, increase the size by 20 to 30 percent. If you use custom colors, add 10 to 15 percent. Treat these as starting points and confirm with a test print. For different print materials, see the QR code sizing guide for print materials.
Placement: Where to Put the Code on the Label
- Put the code on a flat area, not across folds, seams, edges or perforations.
- Choose a visible panel. The front or back label is better than the bottom of the pack.
- Use one code per panel so scanners are not confused.
- Keep the quiet zone empty. No text, border or artwork inside it.
- Add a short call to action next to the code, such as “Scan for the manual” or “Scan to reorder”.
- Do not place the code under shrink wrap, a heat seal or a varnish edge that creates glare.
Curved surfaces need extra care. On bottles, jars and tubes the pattern bends away from the camera. Keep the code small relative to the curve, place it on the flattest part, and test from several angles. Printing the code on a flat label that sits on the curve works better than printing it on a sharply curved shoulder.
For more on placement, read the QR code placement guide for marketing.
The Quiet Zone: The Empty Border That Makes Scanning Work
Every QR code needs a quiet zone: a blank margin around the whole symbol. It tells the scanner where the code starts and ends.
The standard quiet zone is at least 4 modules wide on all four sides. One module is the width of one small square. On a typical label code this is about 4 to 8 mm. Do not print your brand name, a border or label text inside it. If the label is printed on a busy background, put the code on a solid light box.
Contrast: Dark Code, Light Background
Scanners read the difference between dark modules and a light background. Without enough contrast the pattern is not detected.
- Use a dark foreground on a light background. Black on white is the most reliable.
- Aim for a contrast ratio of at least 4:1.
- Avoid similar hues for foreground and background, such as dark green on medium green.
- Avoid light-on-dark (inverted) codes. Some scanners cannot read them, so test before you use them.
- Avoid gradients and shadows over the pattern.
- Avoid printing the code on a highly glossy, ribbed or uneven surface.
Custom brand colors can work if you test them under real lighting. The QR code color contrast best practices guide has a comparison table of common pairings.
Error Correction: Built-In Damage Protection
QR codes have four error correction levels. They set how much of the code can be damaged or covered and still be read:
| Level | Recovery Capacity | Best For |
|---|---|---|
| L (Low) | about 7% | Clean surfaces, no logo overlay |
| M (Medium) | about 15% | General product labels |
| Q (Quartile) | about 25% | Labels with a logo or brand elements over the code |
| H (High) | about 30% | Surfaces at risk of scratches or wear, or complex designs |
For most product labels, Level M or Q is a good choice. With a logo in the center, use Q or H. Higher levels make the pattern denser, so you may need a slightly larger print size.
Print Resolution and File Formats
- Vector files (SVG, PDF, EPS) scale to any size without losing sharpness. Use them whenever your printer or label designer accepts them.
- PNG or JPEG: export at the final print size at 300 dpi. 200 dpi can work for small codes on smooth paper.
- Do not enlarge a small PNG for a bigger label. The edges blur and the code may stop scanning.
- Check the printer proof. Ink spread can fill in small modules on absorbent paper.
Both the QR code generator with logo and the QR code PNG generator can export files for print. Check the download options in the tool for the format you need.
Practical Use Cases for Product Label QR Codes
Choose the destination by what the customer needs when holding the product:
- Food and drink: a page with ingredients, allergens and origin, or a recipe.
- Electronics and tools: a setup video, the manual in PDF and a warranty form.
- Cosmetics: usage steps and a full ingredient list.
- Consumables: a one-tap reorder page.
- Hardware and packaging: recycling or return instructions.
- Any product: a short review request or a discount for the next order.
Most of these benefit from dynamic QR codes, because the page can be updated after the label is printed. For examples by sector, see QR code solutions by industry. For loyalty, packaging and engagement, see product QR code solutions.
Always Test Before Printing at Scale
Before a full print run:
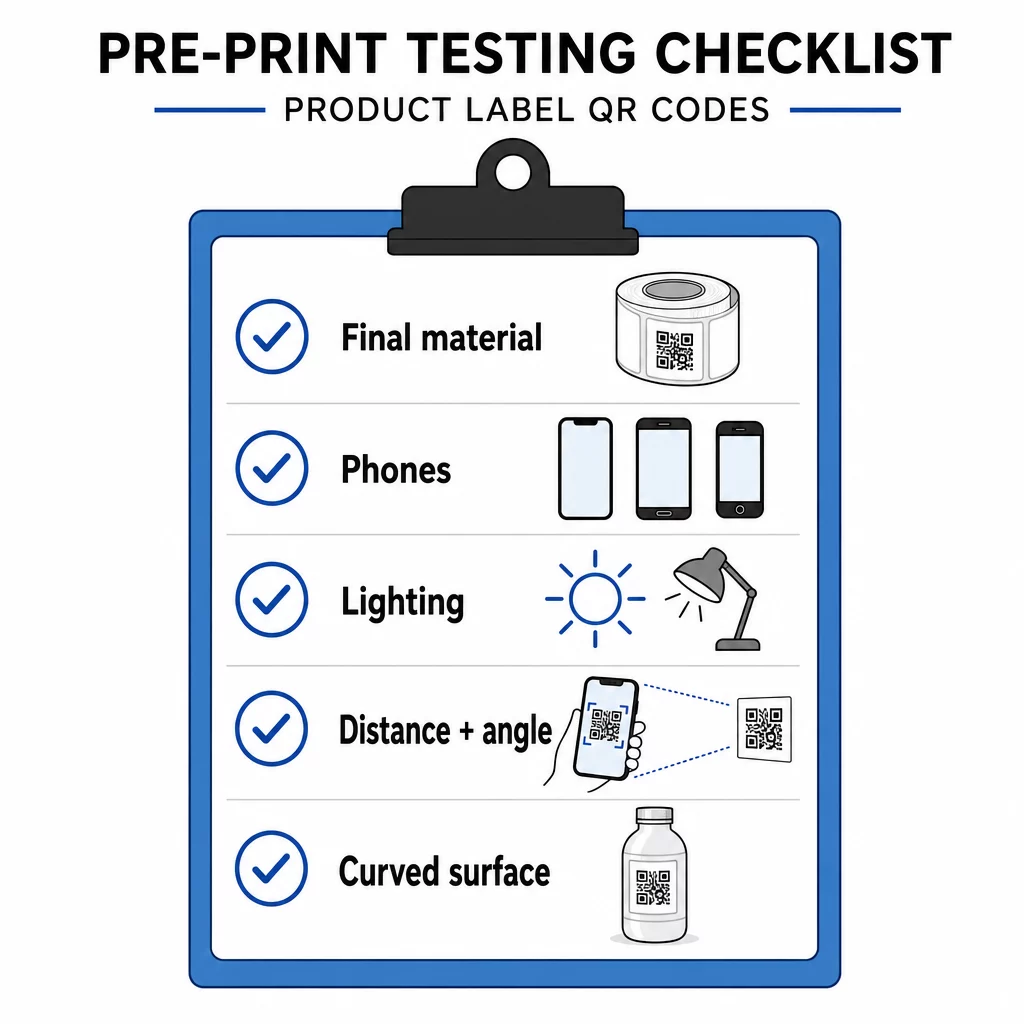
- Print the code at its final size on the actual label material.
- Scan with at least two or three phones, both iPhone and Android.
- Scan in bright light, daylight and dim light.
- Scan from the distance and angle a customer will use.
- On a curved surface, scan from the left, center and right.
- Open the destination on a phone with mobile data, not only on Wi-Fi.
QR Code on a Product Not Scanning? Check These
- Too small: enlarge the code or shorten the link.
- Quiet zone too narrow: text or artwork touches the code.
- Low contrast: light colors, gradients or an inverted code.
- Glare: glossy film or varnish reflects light. Use a matte finish or move the code.
- Blurry print: low resolution or ink spread. Use a vector file and review the proof.
- Curved or creased surface: move the code to a flatter area.
- Wrong destination: the link has changed. With a dynamic code, edit the destination. With a static code, you must reprint.
For more checks, see the QR code readability best practices guide.
Frequently Asked Questions
The common minimum is 2 x 2 cm (0.8 x 0.8 inches) for codes scanned at arm’s length. For packaging, 2.5 to 3 cm per side is safer. As a guide, a phone reads a code from about 10 times its printed width.
Choose the destination, create the code in a QR code generator, download a vector file or a high-resolution PNG, add it to your label artwork with a quiet zone and a short call to action, then print a test label and scan it on several phones before the full run.
Only with a dynamic QR code. A dynamic code stores a short redirect link, so you can change the destination without changing the printed code. A static code cannot be changed after printing.
A static code never expires, because the destination is stored in the pattern. A dynamic code works as long as your plan is active, so check your plan before you print labels that will stay in use for years.
Use a vector format: SVG, PDF or EPS. They stay sharp at any size. If you must use PNG, export it at the final print size at 300 dpi and do not enlarge it.
Yes. Use error correction level Q or H for a logo, enlarge the code by 20 to 30 percent, keep strong contrast between dark and light, and test the printed label before the full run.
On a flat, visible area such as the front or back label, away from folds, seams and edges, with an empty quiet zone and a short call to action next to it.