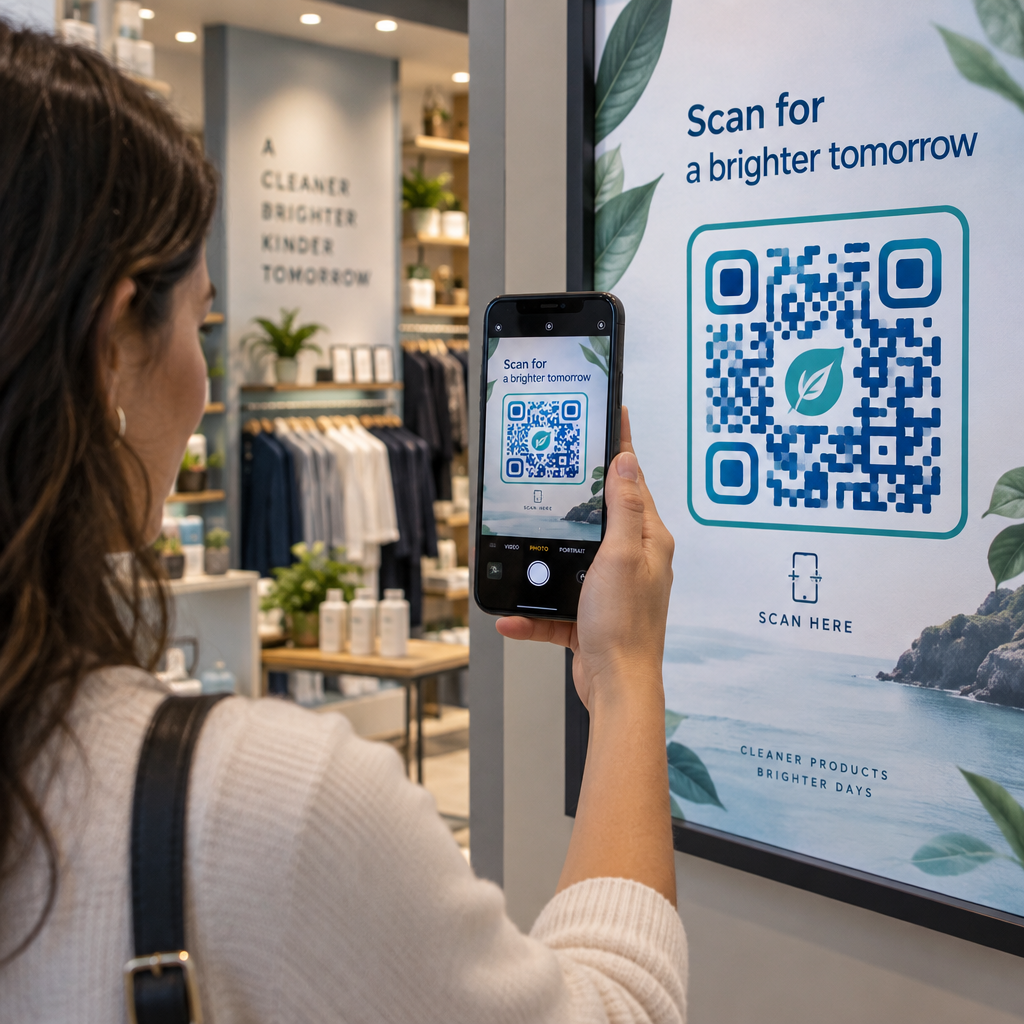
Why do your printed QR codes fail to convert even when the design looks sleek? A botched scan frustrates customers and causes abandoned interactions that waste your print budget. Following core usability standards for design, placement, and testing ensures every physical code delivers an immediate digital interaction.
Calculating Optimal Size and Scanning Distance
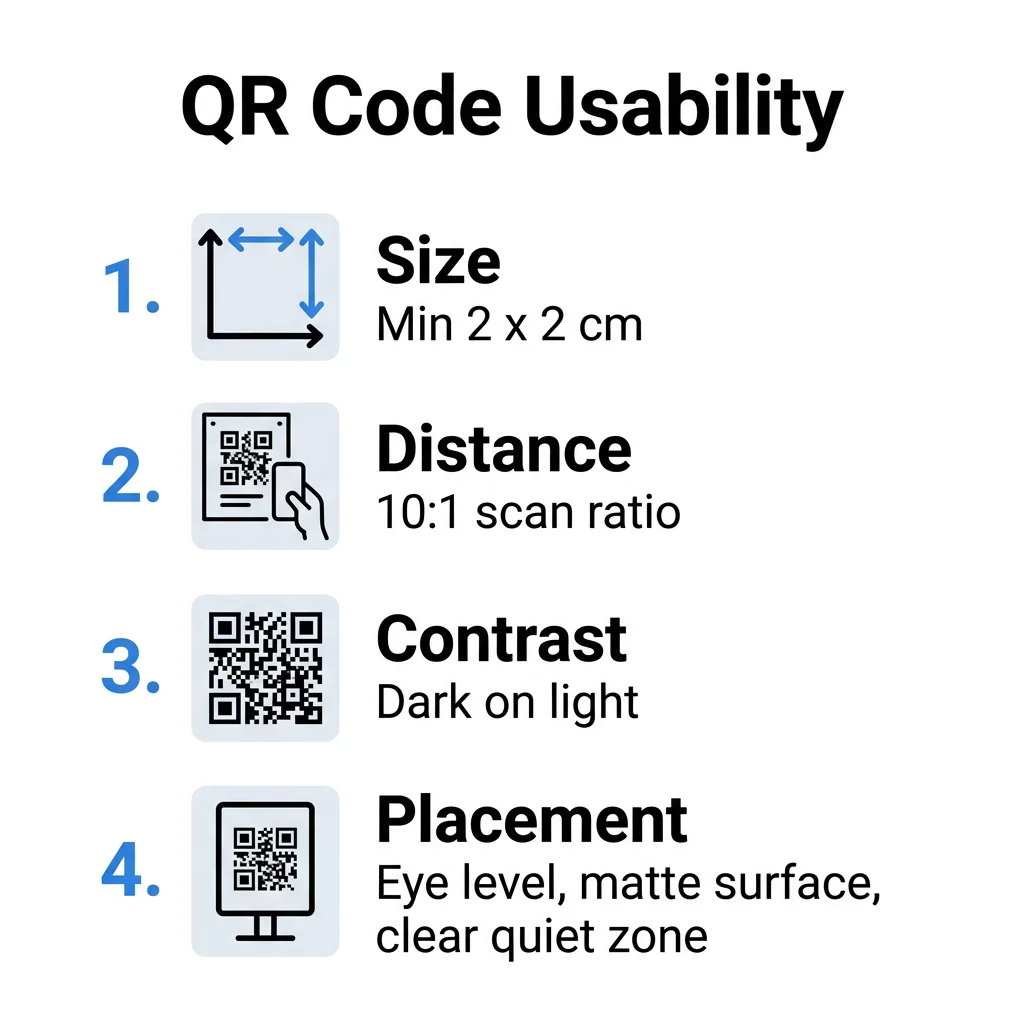
Physical size represents the most frequent technical barrier to a successful scan. When a code is printed too small, a smartphone camera cannot resolve the individual modules, especially on symbols with dense data payloads. For close-range printed items such as business cards or tabletop collateral, you should maintain a minimum physical size of 0.8 x 0.8 inches (2 x 2 cm).
To determine dimensions for signage, posters, and retail displays, follow the standard 10:1 scanning ratio. This formula requires the QR code’s side length to be at least one-tenth of the expected distance between the user and the material:
- Handheld collateral scanned at 10 to 20 inches requires a minimum width of 1 to 2 inches.
- In-store posters scanned at 5 feet require a minimum width of 6 inches.
- Window displays scanned at 10 feet require a minimum width of 12 inches.
- Directional signage scanned at 20 feet requires a minimum width of 24 inches.
Export your artwork in vector formats like SVG, EPS, or print-ready PDF files to avoid the pixelation caused by scaling raster images. If your production workflow requires PNG files, review our checklist for designing user-friendly QR codes to verify that your output maintains a resolution of at least 300 DPI at the intended physical print size.
Create Streamlined, High-Scannability Codes Dense QR code patterns slow down camera recognition and reduce scan rates on printed materials. Use our Dynamic QR Code Generator to keep your module patterns clean, short, and effortless to scan.
Designing for Contrast and Data Clarity
Camera sensors decode QR codes by calculating the difference in light reflectance between dark and light modules. Dark modules absorb light while pale backgrounds reflect it back to the sensor. If the tonal difference between these elements is too narrow, the camera fails to recognize the data grid.
- Maintain high color contrast by pairing dark foreground elements with clean, light backgrounds, aiming for at least a 4.5:1 contrast ratio to align with QR code color contrast best practices.
- Avoid inverted color schemes because many default smartphone camera decoders fail to interpret white modules placed on dark backgrounds.
- Preserve a dedicated quiet zone around all four borders equal to at least four times the width of a single module to separate the code from adjacent graphics.
- Prevent dense visual grids by understanding static vs dynamic QR codes, as dynamic codes route through short redirect URLs that require far fewer modules.
- Select error correction levels deliberately when using a QR code generator with logo, using Level H (30% recovery) so the central graphic does not corrupt vital data points.
| Design Element | Usability Standard | Practical Purpose |
|---|---|---|
| Color Contrast | Minimum 4.5:1 ratio | Allows camera sensors to distinguish dark and light data blocks |
| Quiet Zone | At least 4 modules wide | Prevents surrounding artwork or package trims from disrupting edge detection |
| Error Correction | Level M (15%) to Level H (30%) | Restores unreadable data if the code suffers physical wear or contains branding |
| Surface Finish | Non-reflective matte | Eliminates harsh lighting glare that blinds smartphone camera lenses |
Strategic Placement in Physical Environments
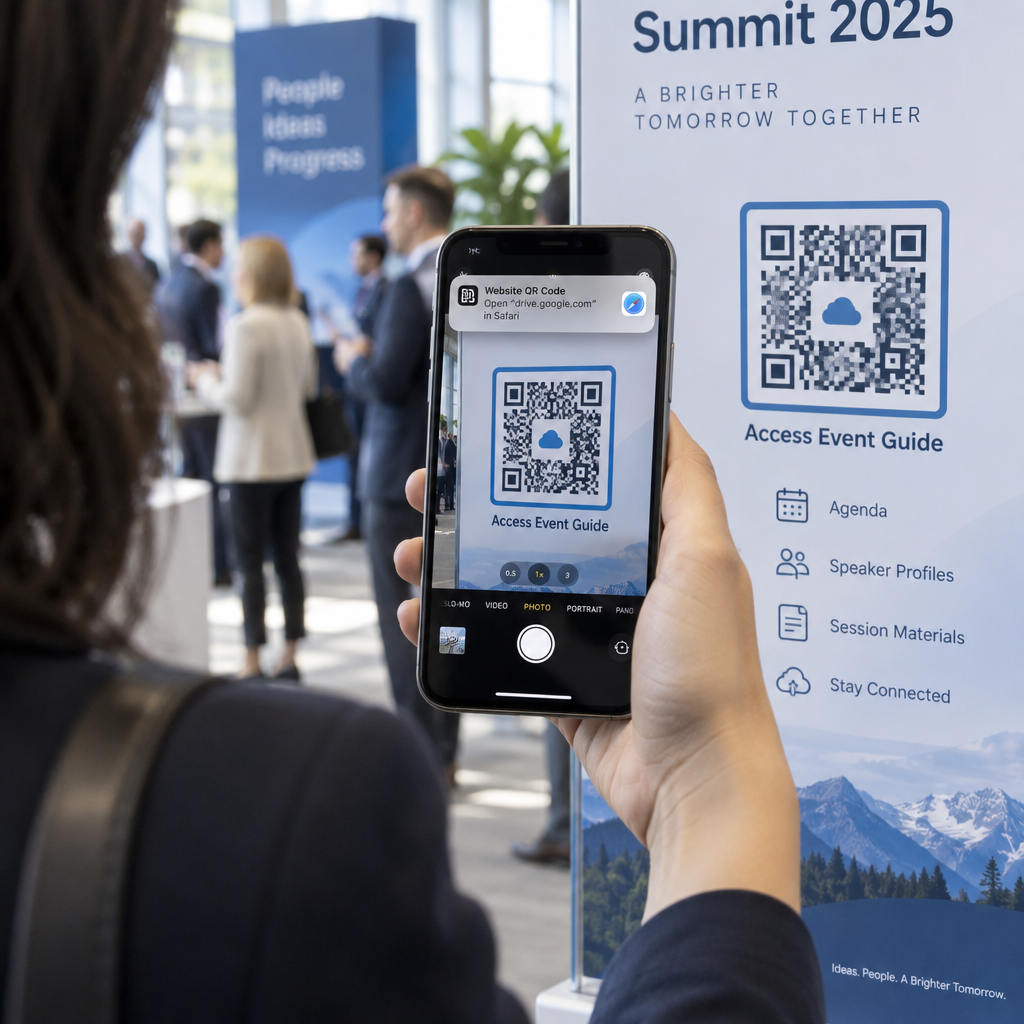
Placement determines whether a user notices your call to action or passes by without engaging. You must position codes directly along the customer’s natural line of sight to remove physical strain. Eye-level installation – typically between 3.5 and 5.5 feet from the floor – ensures people can scan without awkwardly stooping or stretching.
Environmental factors can compromise even properly sized codes. Refer to our guide to QR code placement in marketing to choose locations that avoid high-traffic bottlenecks, direct sun glare, and dark corridors. Curved bottles, poly bags, and fabric folds distort geometric finder patterns. Whenever possible, apply codes to flat, stable surfaces, or consult how printing techniques impact QR code scannability to choose appropriate substrates like matte paper or dull vinyl.
Every placement requires a clear, explicit call to action alongside the graphic. Unlabeled codes create hesitation because users cannot verify the destination. Include short phrases such as “Scan to View Menu” or “Scan for 20% Off” so customers immediately understand the incentive.
Ensuring Inclusive Design and Accessibility
Usability principles must extend to all potential visitors, including individuals with disabilities. A physical installation that excludes certain groups lowers engagement and creates compliance issues under modern accessibility standards.
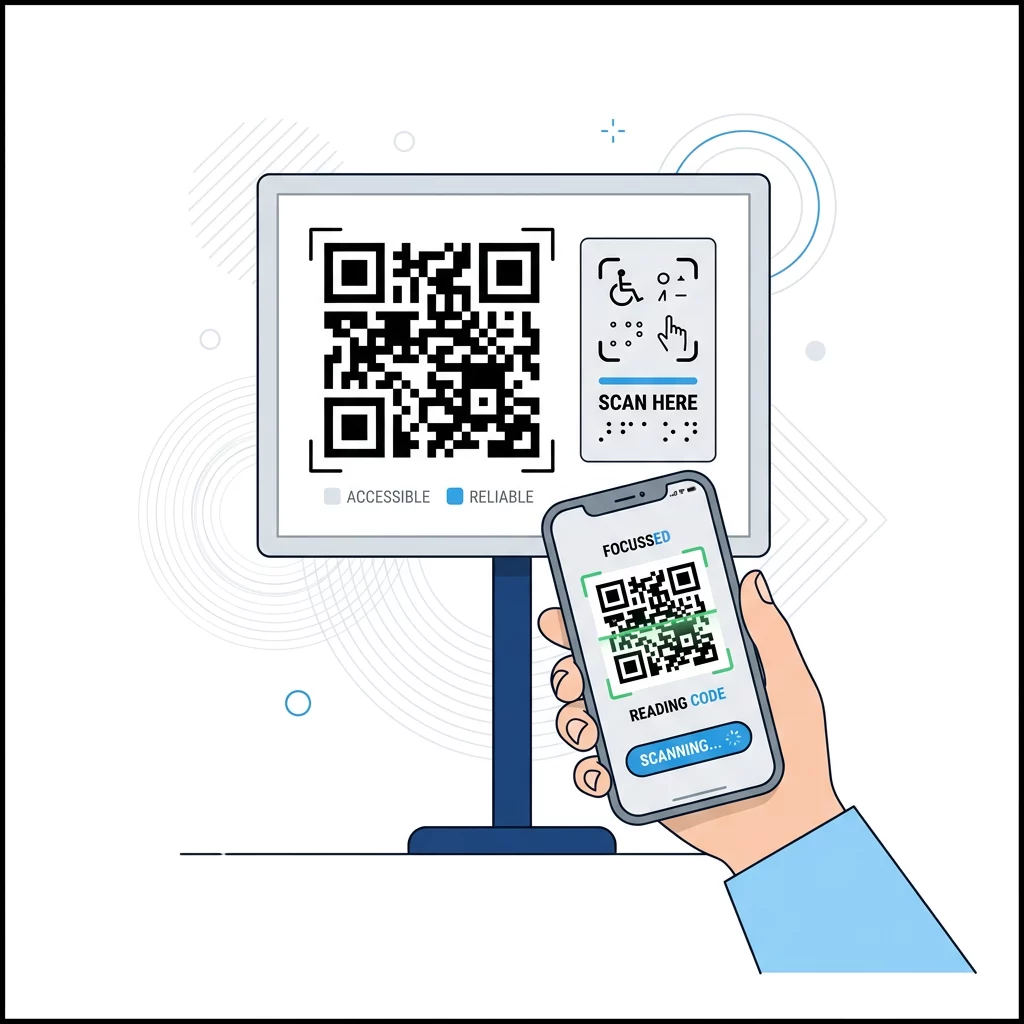
Applying the principles from how to make QR codes ADA-compliant helps make your physical and digital touchpoints universally accessible:
- Position fixed physical signage between 36 and 48 inches above the floor so it remains reachable for seated users and individuals in wheelchairs.
- Provide physical finding aids, such as raised borders, textured substrates, or braille labels, so users with visual impairments can locate the symbol.
- Include short alternative text or visible printed URLs next to the code so users who cannot scan can still access the destination.
- Optimize the post-scan mobile experience by ensuring destination pages load in under three seconds and feature accessible touch targets measuring at least 48 pixels wide.
Real-World Testing and Performance Tracking
The most expensive mistake in print marketing is discovering a technical flaw after distributing thousands of physical copies. Screen simulations do not replicate real-world scanning variables like uneven lighting, paper absorption, or optical glare.
Follow established protocols to test a QR code before printing by producing a single, full-scale proof on your target material. Scan this proof across multiple physical devices, including older iOS and Android phones with lower-grade camera sensors. You can also verify encoded payload strings using an online QR code scanner to confirm your redirects function properly before launching production.
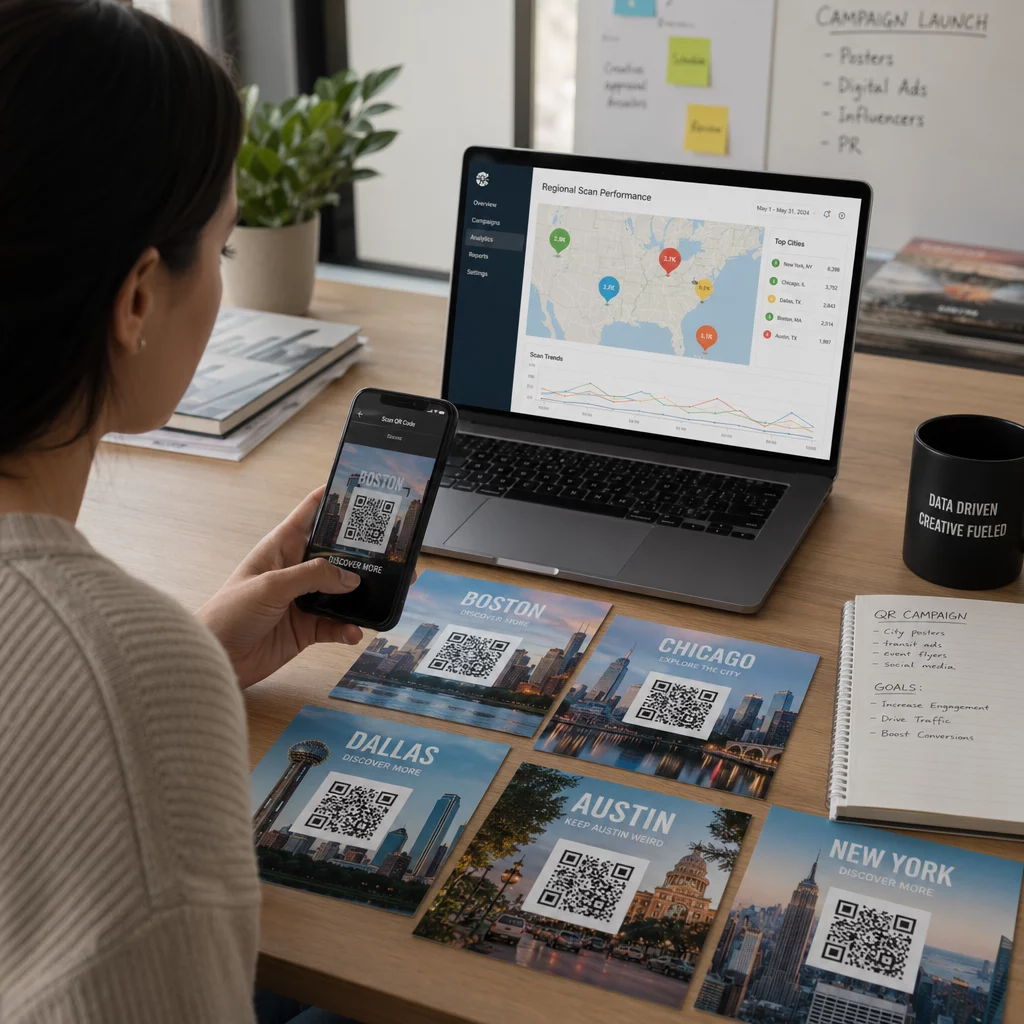
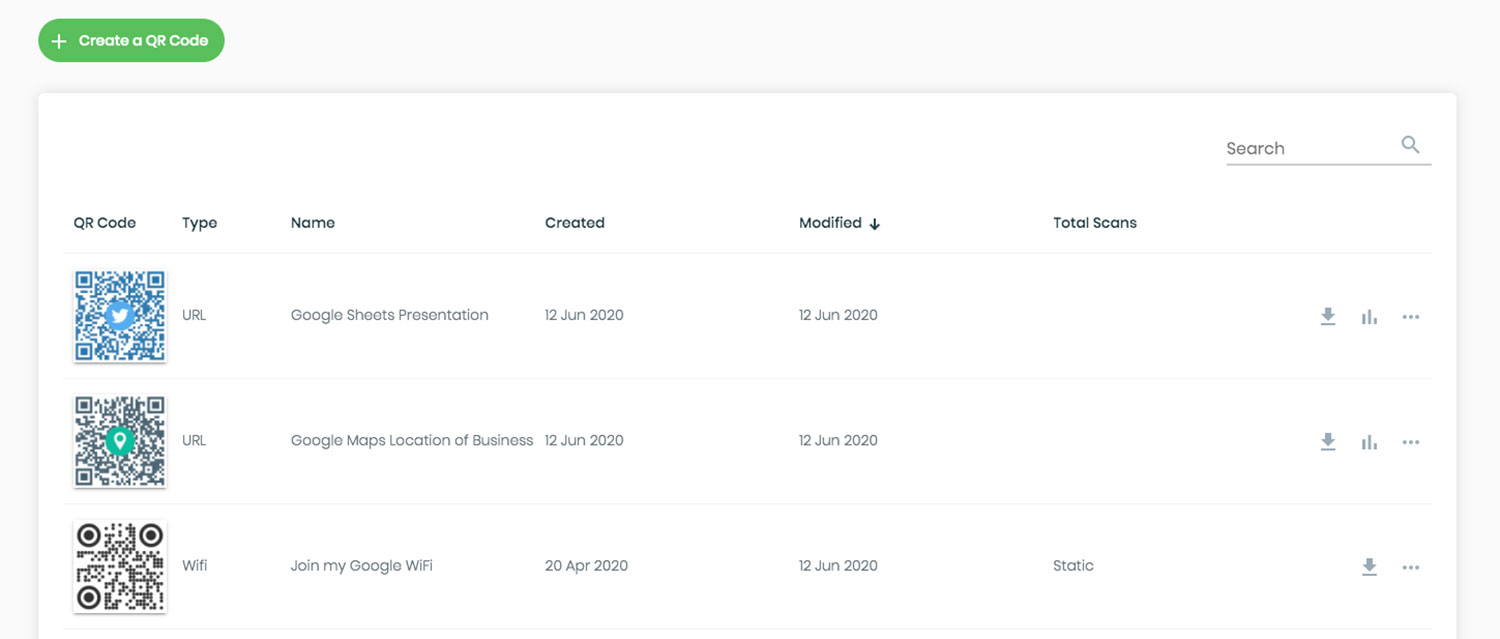
Once your campaign goes live, monitor scan frequency and device analytics using tools for tracking QR codes. Continuous measurement allows you to run A/B testing on QR code campaigns to compare different calls to action or physical placements. If you oversee multi-channel assets across several locations, implement systems for managing editable QR codes at scale to redirect outdated URLs without reprinting existing collateral.
Applying rigorous usability guidelines transforms standard print assets into dependable digital on-ramps. By maintaining high contrast, respecting the 10:1 distance ratio, and testing on physical proofs, you ensure every campaign delivers high scan rates and smooth interactions. Build your next high-converting asset with our free QR code generator to create customized, print-ready codes in seconds.
Frequently Asked Questions
Close-range printed materials such as business cards and package inserts should measure at least 0.8 x 0.8 inches (2 x 2 cm). For longer distances, use the 10:1 ratio where the code’s width equals one-tenth of the distance to the scanner.
Most native camera decoders look for dark modules on a pale background to locate timing patterns and alignment squares. Light modules placed on dark backgrounds reverse this contrast, causing many scanning engines to fail completely.
Dynamic codes store a short redirect link rather than your entire destination payload. This short URL creates a simpler grid pattern with larger individual modules, making the code much easier for low-end phone cameras to read quickly.