
Are your custom QR codes failing to scan in the real world? When a branded code doesn’t work, it frustrates customers and damages your credibility. This guide explains how to balance branding with technical reliability to ensure every scan is successful.
Why Contrast is the Foundation of Scannability
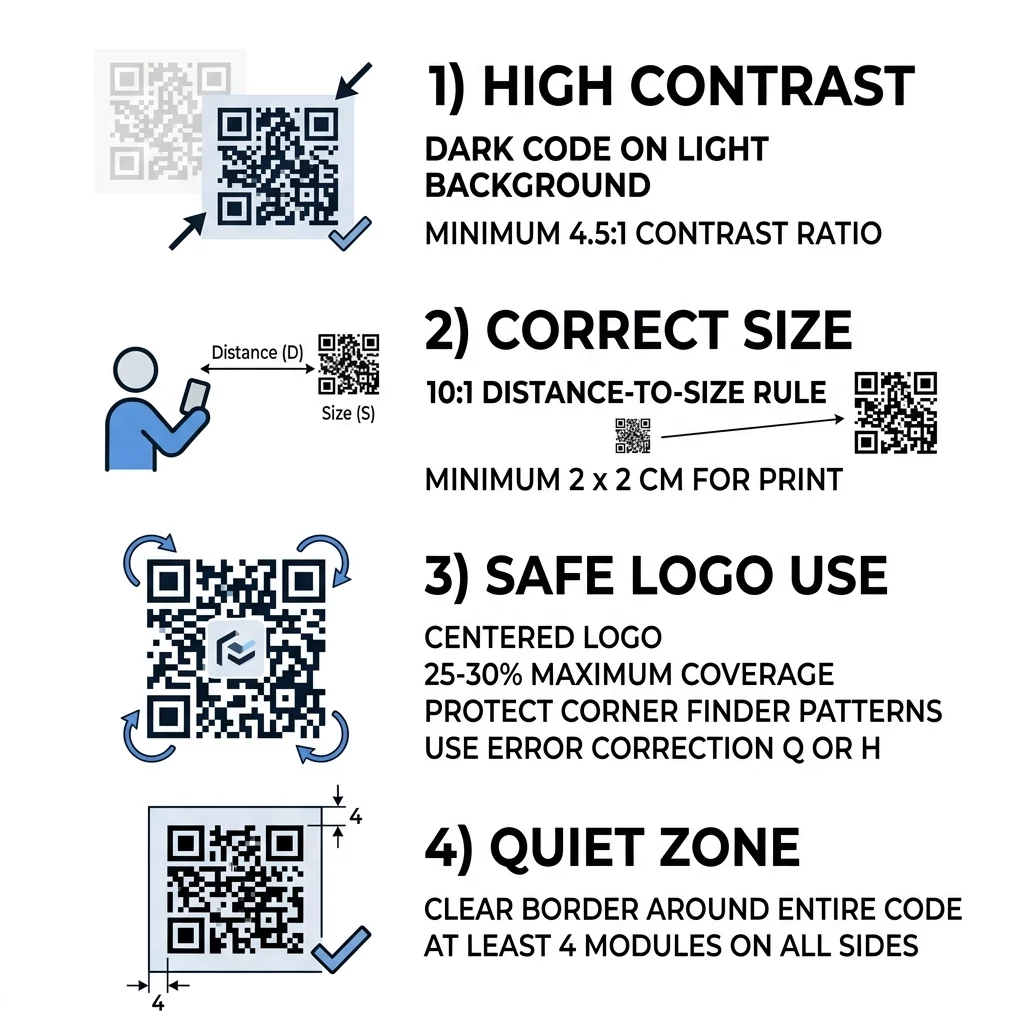
The most common reason QR codes fail is insufficient contrast between the foreground and the background. Scanners operate by measuring the difference in light reflectance; they need to distinguish the dark modules from the light areas to decode the data. While black-on-white provides the maximum contrast ratio of 21:1, you can use brand colors effectively if you maintain a minimum ratio of 4.5:1 for smaller codes.
To ensure your designs remain functional, always use dark colors for the modules and light colors for the background. Scanners are optimized for this configuration, and while some modern smartphones can read inverted codes, many older devices or third-party apps will fail entirely. You should also avoid gradients and shadows, as these create mid-tones that confuse the edge-detection sensors of a camera. For a deeper look at color selection, review our guide on QR code color contrast best practices before finalizing your marketing materials.
Sizing Your QR Code for Distance and Visibility
Size is a technical requirement dictated by the physics of the camera lens. A code that is too small for its environment will appear blurry, making it impossible for the software to isolate individual modules. To determine the correct dimensions, follow the 10:1 distance-to-size ratio. This means if a user is scanning a flyer from 20 inches away, the QR code should be at least 2 inches wide.
For close-range materials such as business cards, the practical minimum size is 1 x 1 cm, though 2 x 2 cm is recommended for universal compatibility. Data density also impacts scannability; the more information you encode, the more “crowded” the pattern becomes. You can keep your code visually simple and easier to scan by using a dynamic QR code generator. This tool creates a short redirect URL, resulting in a cleaner pattern that performs better even at smaller sizes.
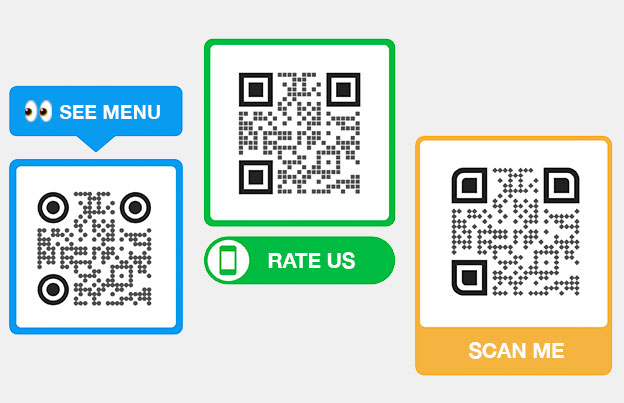
Ready to design your own? Start using our QR code generator with logo to create high-contrast, branded codes that work across all mobile devices.
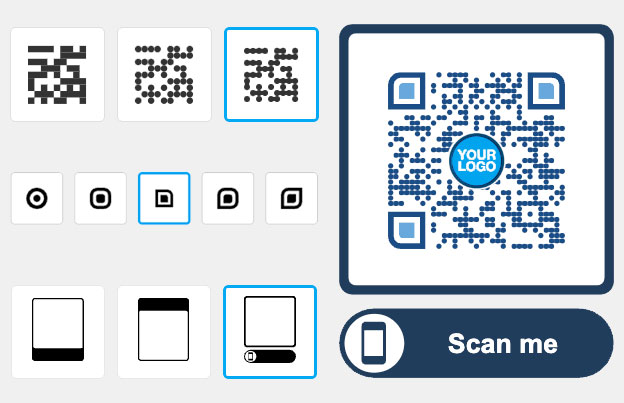
Integrating Logos Without Breaking Functionality
Adding a logo is an effective way to increase brand recognition by up to 80% and can boost scan rates by nearly 18%. This is possible because of Reed-Solomon error correction, a technical feature that allows the code to remain readable even if part of it is covered or damaged. When you embed a logo, you must set the error correction to Level Q (25% recovery) or Level H (30% recovery) to compensate for the obstructed data modules.
To maintain functionality, your logo should be centered and occupy no more than 25% to 30% of the total area. It is vital to protect the corner finder patterns – the three large squares that act as the “eyes” of the code. If these are obscured, the scanner cannot orient the image. For specific placement tips, see our walkthrough on how to add logos to QR codes to ensure your branding doesn’t block critical data points.
The Importance of the Quiet Zone
The quiet zone is the clear border surrounding the QR code that acts as a buffer. This empty space tells the scanner to ignore nearby text, images, or packaging graphics. According to the ISO/IEC 18004 standard, this zone must be at least four modules wide on all sides. For example, if your modules are 2 mm wide, you need an 8 mm clear margin.
Without an adequate quiet zone, the scanning software may fail to isolate the QR code from the surrounding design, resulting in a “no-scan” error. This is one of the most frequent mistakes in professional graphic design, where codes are placed too close to the edge of a page or overlapping with background patterns. Adhering to best practices for QR code readability ensures that your design elements do not interfere with the scanner’s ability to lock onto the code.

Print Quality and Material Considerations
The final physical output is just as important as the digital design. Low-resolution images may look acceptable on a screen but will appear pixelated or blurry when printed, which prevents the scanner from recognizing the module grid. Always export your design in vector formats such as SVG, EPS, or PDF to maintain sharpness at any scale.
Environmental factors also play a significant role in scan success:
- Matte finishes are preferable to glossy materials because they prevent glare that can “blind” the camera sensor.
- Flat surfaces are essential for reliable scans, as placing a code on a highly curved surface like a bottle or a fold in a package can distort the pattern.
- High-DPI printing (at least 300 DPI) ensures that the edges of each module are crisp and distinct.
Before starting a large print run, use our QR code print quality checker to verify that your file is technically sound.
Frequently Asked Questions
While the technical minimum is roughly 1 x 1 cm for very simple codes, we recommend a minimum of 2 x 2 cm (0.8 x 0.8 inches) for most marketing materials to ensure they work across different smartphone models and lighting conditions.
It is generally not recommended. Most scanners are programmed to find dark patterns on light backgrounds. Inverting the colors (light-on-dark) often leads to scanning failures, especially on older devices or in low-light environments.
A dynamic code uses a short URL, which creates a simpler, less dense pattern. This makes the code much easier for cameras to decode and allows you to print it at smaller sizes compared to a static code containing a long, complex URL.
To get the most out of your campaigns, you must combine visual appeal with technical standards. By prioritizing contrast, respecting the quiet zone, and testing your codes on physical materials, you turn a simple graphic into a powerful gateway for customer engagement. Use Pageloot to manage your designs and track your success in real time.


