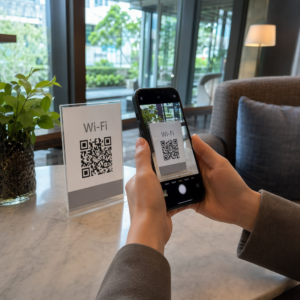
Are your customers struggling to scan your QR codes on the first try? A slow or unreliable code leads to lost engagement and frustrated users who may give up on your content entirely. This guide outlines technical and design optimizations to ensure your codes scan instantly and reliably every time.
Why Contrast is the Foundation of Scannability
Scanners rely on the ability to distinguish between the dark modules and the light background. If the contrast is too low, the camera sensor cannot clearly identify the pattern, leading to “searching” or failed scans. While custom colors can increase engagement by up to 18%, you must prioritize visibility to ensure functionality.
To maintain high performance, you should always aim for a dark foreground on a light background. Black on white remains the industry standard because it provides the maximum possible contrast ratio of 21:1. For branded designs, you should maintain at least a 4.5:1 ratio for enhanced accessibility. Avoid using light-colored codes on light backgrounds or reversed contrast (white on dark), as many older scanner apps and native cameras fail to recognize inverted schemes.
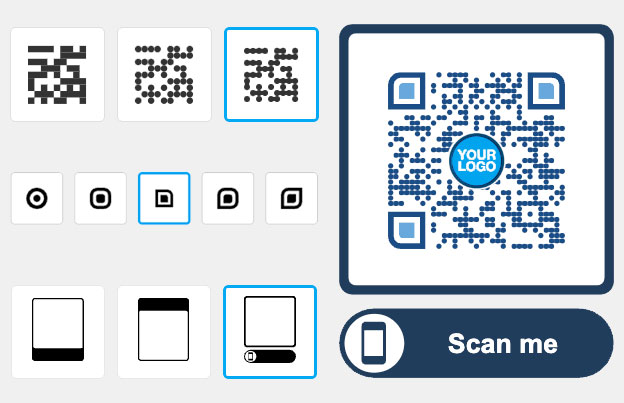
Design for Performance: Use the QR Code Generator to create high-contrast codes with professional templates that ensure your brand colors remain scannable.
For more details on selecting the right palette, refer to our comprehensive guide on QR code color contrast best practices.
Choosing the Right Size for Your Scanning Distance
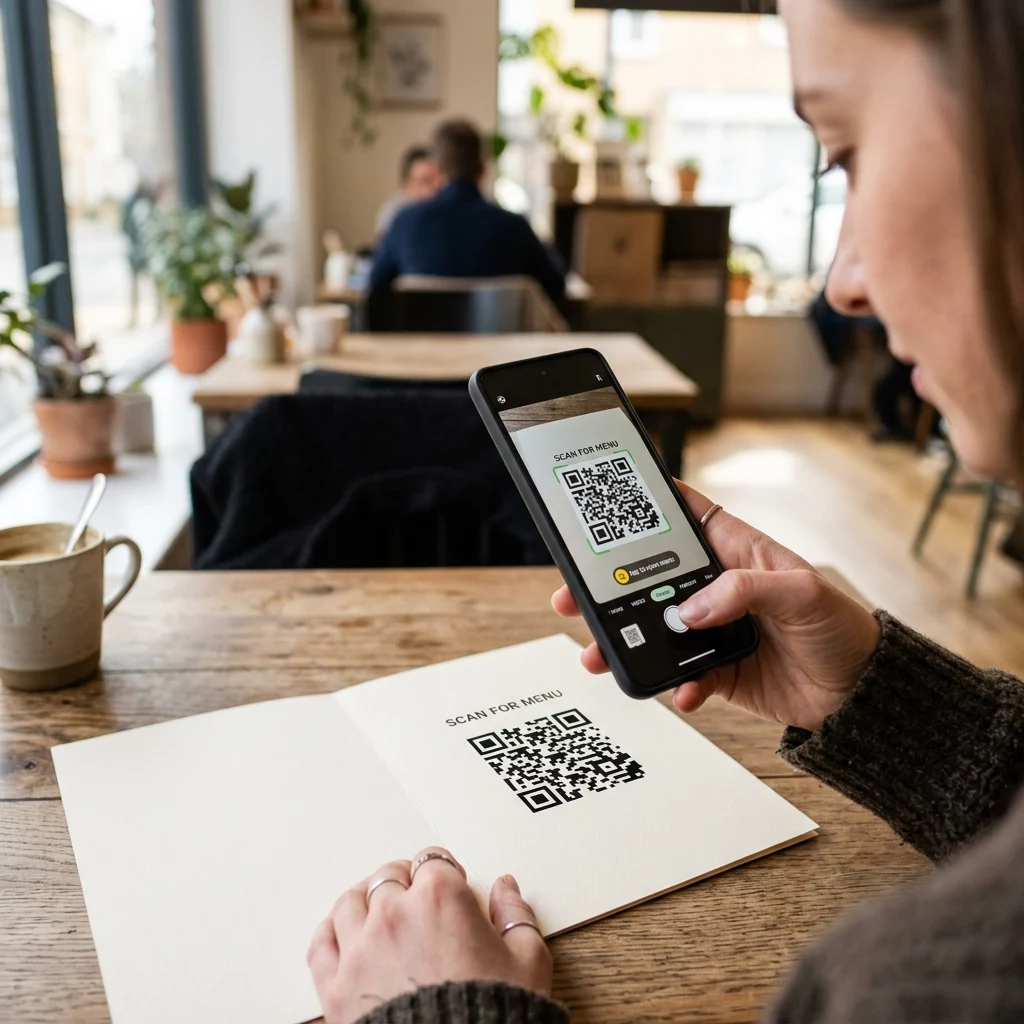
Size is one of the most common reasons for scanning failure because cameras struggle to resolve individual modules if the code is too small. A simple way to calculate the correct dimensions is the 10:1 sizing rule, which states that your QR code should be at least 1 cm wide for every 10 cm of distance between the user and the code. For example, if a customer is scanning a menu from 30 cm away, the code should be at least 3 cm wide.
For close-range materials such as business cards or product labels, the absolute minimum size is 2×2 cm (0.8×0.8 inches). When dealing with textured materials like cardboard or fabric, you should increase the size by 25% to 50% to compensate for surface irregularities.
| Application | Typical Scanning Distance | Recommended Minimum Size |
|---|---|---|
| Business Cards | 4–8 inches | 2 x 2 cm |
| Restaurant Menus | 12–20 inches | 3 x 3 cm |
| Posters and Signage | 5 feet or more | 15 x 15 cm |
| Packaging and Displays | 20 inches | 5 x 5 cm |
Review our detailed breakdown of QR code sizing for different print materials to find the right dimensions for your specific project.
Reducing Data Density with Dynamic QR Codes
The more data you embed into a static QR code, the denser and more complex the pattern becomes. High-density codes feature smaller modules, which require users to hold their phones perfectly still and very close to the material. This often leads to “dot gain” issues during printing, where ink bleeds and causes the tiny squares to blur together.
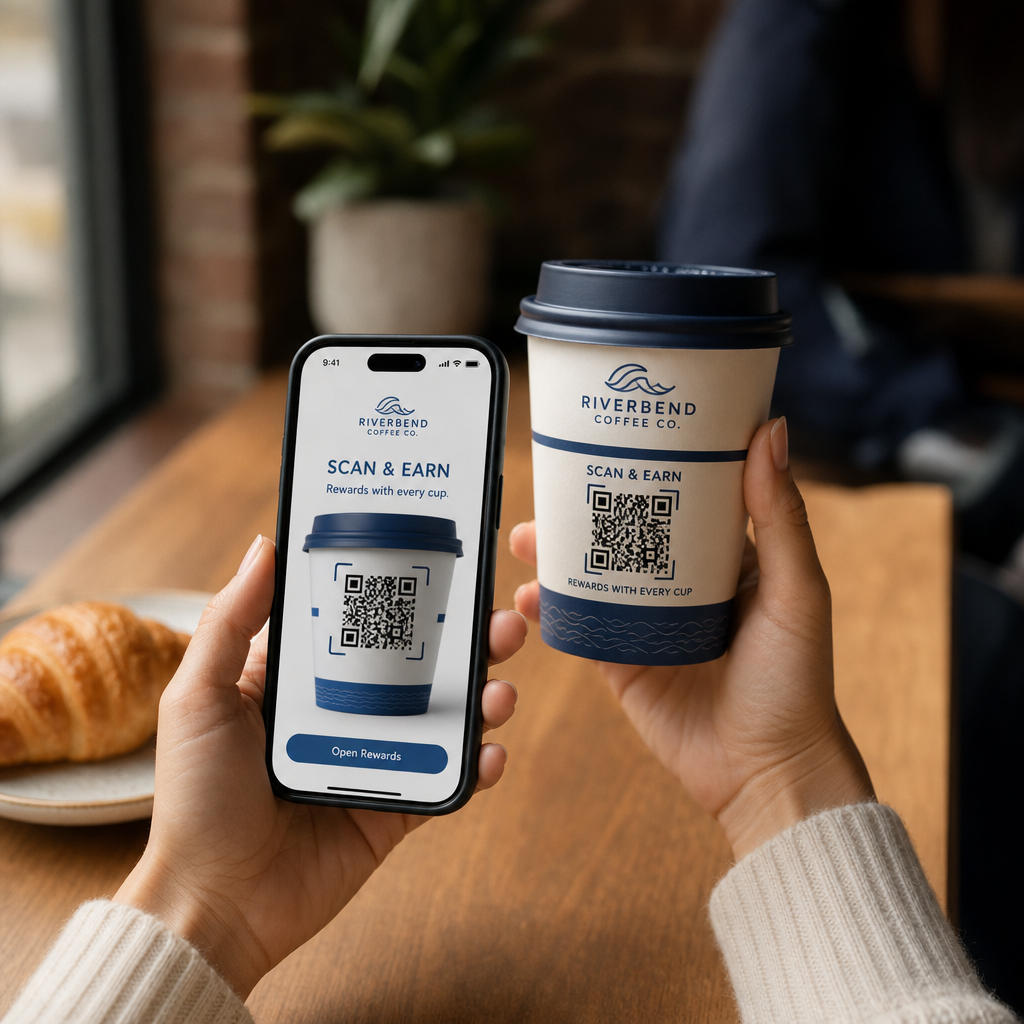
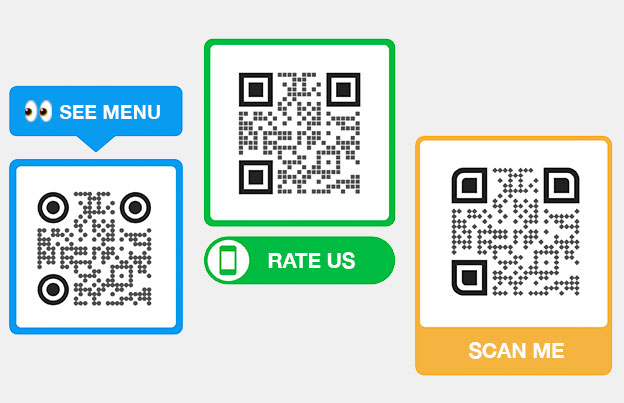
To improve scan speed, you should use dynamic QR codes. Instead of encoding a long, complex URL, a dynamic code encodes a short redirect link that keeps the pattern simple and the modules large. This makes it significantly easier for smartphone cameras to “grab” the pattern instantly, even in sub-optimal lighting.
Simplify Your Patterns: Use a Link QR Code Generator to create simplified, high-speed patterns that allow you to update your destination URL at any time without reprinting.
Learning how to understand QR code data limits is essential for maintaining a clean, professional design that prioritizes user experience.
Maintaining the Quiet Zone and Placement
The “Quiet Zone” is the empty margin surrounding the QR code that serves as a protective buffer. According to the ISO/IEC 18004:2015 standard, this buffer must be at least four modules wide on all sides. If the individual squares in your code are 2 mm wide, your quiet zone should be at least 8 mm to ensure the scanner can distinguish the code from surrounding text or graphics.
Placement is equally important for reliability. You should avoid placing codes on curved surfaces, such as bottles or cans, because the wrap-around effect distorts the modules. If a curved surface is unavoidable, scaling up the code size can help compensate for the distortion. Furthermore, avoid placing codes near the edges of packaging or in “busy” design areas where other elements might encroach on the quiet zone.
Print Quality and Resolution Standards
The physical material you choose can impact how light reflects into the camera lens, which is why matte finishes are almost always preferred. Glossy materials often create glare and “hot spots” that obscure parts of the pattern. If your project requires a glossy finish, you can improve results by printing a white matte layer directly beneath the QR code to diffuse reflections.
- Resolution and Format: Always export your designs in vector formats like SVG or EPS. For raster images, ensure a minimum of 300 DPI to prevent pixelation.
- Ink and Bleed: Use high-quality printing methods to prevent ink spread, which can enlarge modules and reduce definition.
- Surface Preparation: Ensure the printing surface is flat and clean, as textures can distort the code and reduce the effective contrast ratio.
You can verify your files before the production run by using our QR code print quality checker to catch potential issues like low resolution or poor contrast.

Validating Performance with Real-World Testing
Before committing to a large print run, you must validate your codes in the environment where they will be used. A design that scans perfectly on a high-resolution computer screen may fail when printed on textured cardboard under dim restaurant lighting. Testing across various devices is also critical, as older smartphones with lower-quality cameras may struggle with designs that work fine on newer models.

- Test your printed samples under different lighting conditions to identify glare issues.
- Scan the code from multiple angles, keeping within a 45° angle for the most accurate results.
- Verify that the landing page is mobile-friendly and loads quickly after the scan is complete.
Frequently Asked Questions
The absolute minimum size for reliable scanning is 2×2 cm (0.8×0.8 inches). If your code contains a large amount of data, such as a full vCard, you should use a dynamic QR code to keep the pattern simple or increase the print size to at least 3×3 cm.
While some modern scanners can read inverted codes, many native camera apps and older devices cannot. For maximum reliability across all users, you should always use dark modules on a light background.
The quiet zone helps the scanner isolate the code from the surrounding design. Without a clear border of at least four modules, the scanner may fail to recognize the “finder patterns” in the corners, leading to significant delays or failed scans.
By following these technical standards, you transform a simple square into a high-speed gateway for your digital content. High-performance QR codes are not just about the link; they are about providing a seamless experience from the physical world to the digital one. Build and track your next campaign today with the Pageloot QR Code Generator.


