
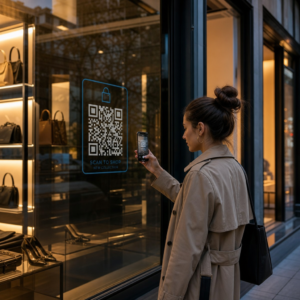
Are your customers struggling to scan the QR codes on your marketing materials? A non-functional code leads to lost engagement and brand frustration. This guide explains the technical and design standards required to ensure your QR codes work perfectly every time they are scanned.
Why Color Contrast is the Foundation of Scannability
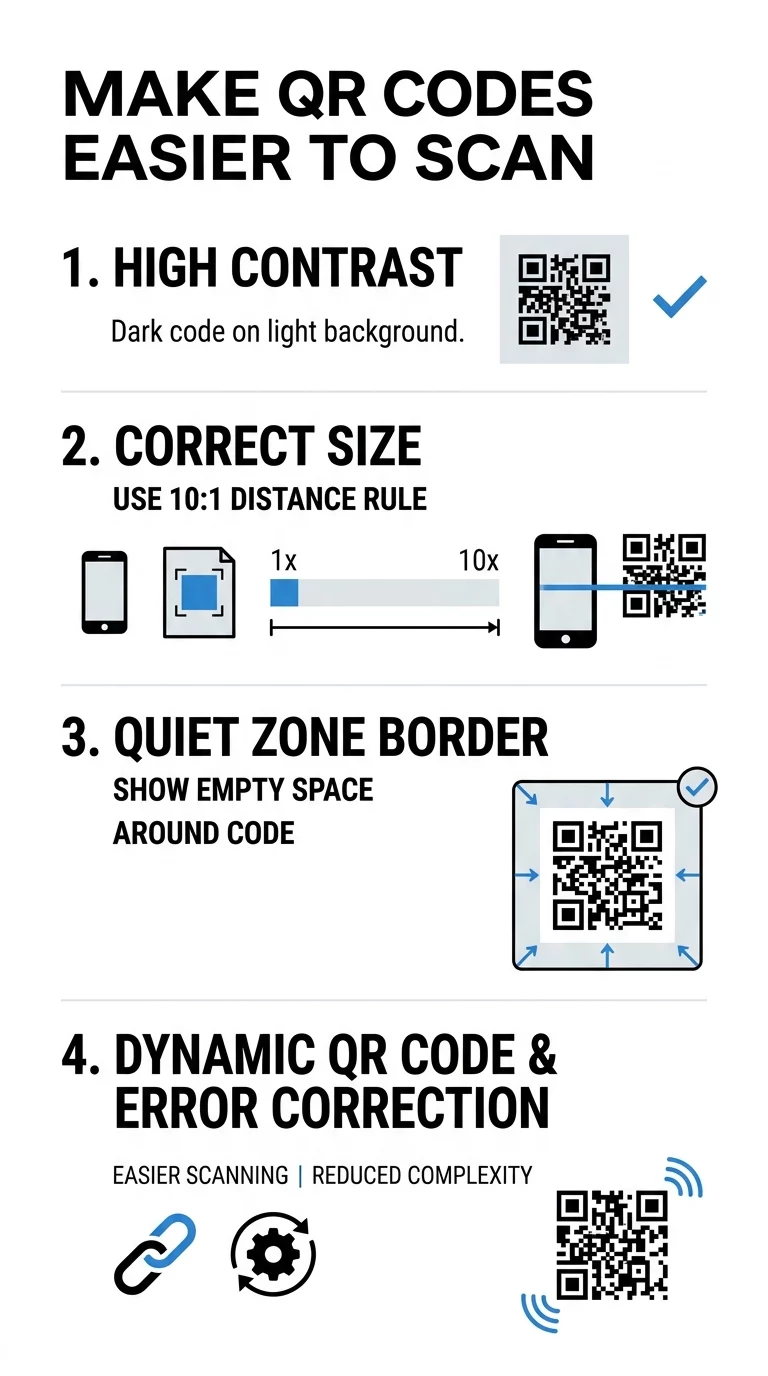
The most common reason a QR code fails is poor color contrast. Scanners work by detecting the difference in light reflection between the dark modules and the light background. Think of the modules like sponges and the background like a mirror; darker colors absorb light while lighter colors reflect it. If the colors are too similar, the scanner cannot distinguish the data pattern, causing the scan to fail.
To ensure reliability, always use dark colors for the foreground and light colors for the background. While black on white is the industry standard for maximum visibility, you can use brand colors as long as you maintain a contrast ratio of at least 4:1. You should generally avoid using red or orange for the modules because many infrared scanners used in retail environments cannot “see” these colors against a light surface. For a deeper look at effective color selection, you can review our guide on QR code color contrast best practices.
While inverted designs – light modules on a dark background – are aesthetically popular, they are often less reliable. Research suggests that inverted codes can be up to 40% slower to recognize, and some default smartphone camera apps may fail to read them entirely. If you must use a custom color scheme, prioritize dark shades like navy, charcoal, or burgundy on a white or beige background.
Sizing Guidelines and the 10:1 Distance Formula
A QR code that is too small for its environment will fail because the smartphone camera cannot resolve the individual modules. As expert Tanner Kohler notes, the farther away you expect users to be, the bigger you should make the code. To determine the correct dimensions, you can follow the 10:1 scan distance formula: for every 10 units of distance between the scanner and the code, the QR code should be at least 1 unit wide. For example, a code on a poster intended to be scanned from 10 feet away should be at least 1 foot wide.
For closer interactions, such as those found on handheld materials, there are established minimums to prevent pixelation and scanning errors. Even at close range, you should never print a code smaller than 0.4 x 0.4 inches, though 0.8 x 0.8 inches is the recommended minimum for consistent performance across all device types. Consider these general standards for common applications:
- Business cards: 0.8 x 0.8 inches (2 x 2 cm)
- Product packaging: 1.0 x 1.0 inches (2.5 x 2.5 cm)
- Flyers and brochures: 1.2 x 1.2 inches (3 x 3 cm)
- Indoor posters: 2.0 x 2.0 inches (5 x 5 cm)
To find the right dimensions for unique surfaces like fabric or cardboard, consult our article on QR code sizing for different print materials.
Protecting the Quiet Zone for Faster Scans
The “quiet zone” is the empty border surrounding the QR code that separates it from other design elements. This space tells the scanner where the code begins and ends. Without this buffer, surrounding text, images, or even the edge of the paper can interfere with the scan, leading to high abandonment rates.
According to the ISO/IEC 18004 standard, the quiet zone should be at least four modules wide on all sides. For example, if your code modules are 2 mm wide, your border should be at least 8 mm clear of any other design elements. You should think of the quiet zone as a protective buffer; it is better to reduce the overall size of the code slightly than to shrink this essential margin.
Optimize your scannability todayUse our QR code generator to create high-resolution codes that automatically include the correct quiet zone and contrast settings for your brand.
Reducing Complexity with Dynamic QR Codes
The more information you encode into a static QR code, the denser the module pattern becomes. This high density creates a “crowded” look that is much harder for older smartphone cameras to process. To solve this problem, many marketers utilize dynamic QR codes. These codes encode a short redirect URL rather than a long string of data, keeping the pattern simple and the modules large, which ensures a fast scan even at small sizes.
Managing data density is also tied to error correction levels. Error correction allows a code to remain functional even if it is partially obscured or damaged. There are four standard levels defined by Reed–Solomon logic:
- Level L (7% recovery): Best for clean, high-resolution digital displays.
- Level M (15% recovery): The standard for most marketing materials.
- Level Q (25% recovery): Used for codes with small logos or those used in high-traffic areas.
- Level H (30% recovery): Best for outdoor signage, vehicle wraps, or industrial environments prone to damage.
You can learn more about finding the right balance between data and scannability in our guide on how to understand QR code data limits.
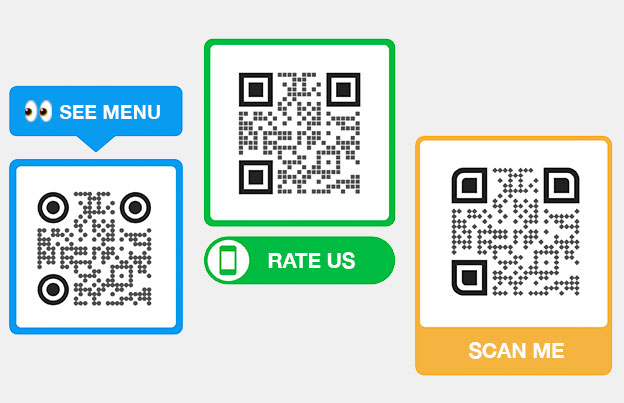
Best Practices for Branded Designs and Logos
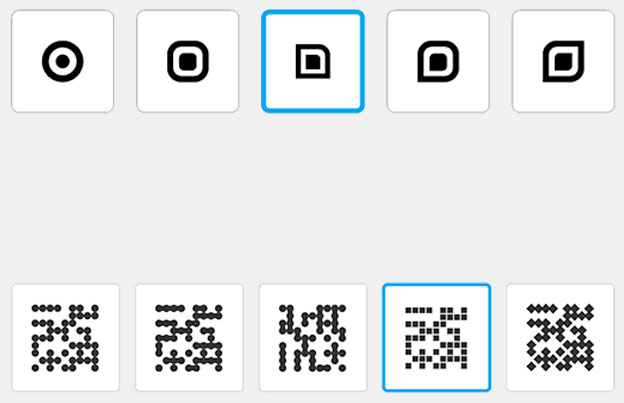
Adding a logo can increase brand trust and scan rates, as branded codes can receive up to 30% more engagement than generic ones. However, logos act as “damage” to the code data. To maintain reliability, you must place the logo in the center and ensure it covers no more than 20% to 25% of the total area. It is critical that the logo does not obstruct the three large squares in the corners, known as finder patterns, which the scanner uses to orient the image.
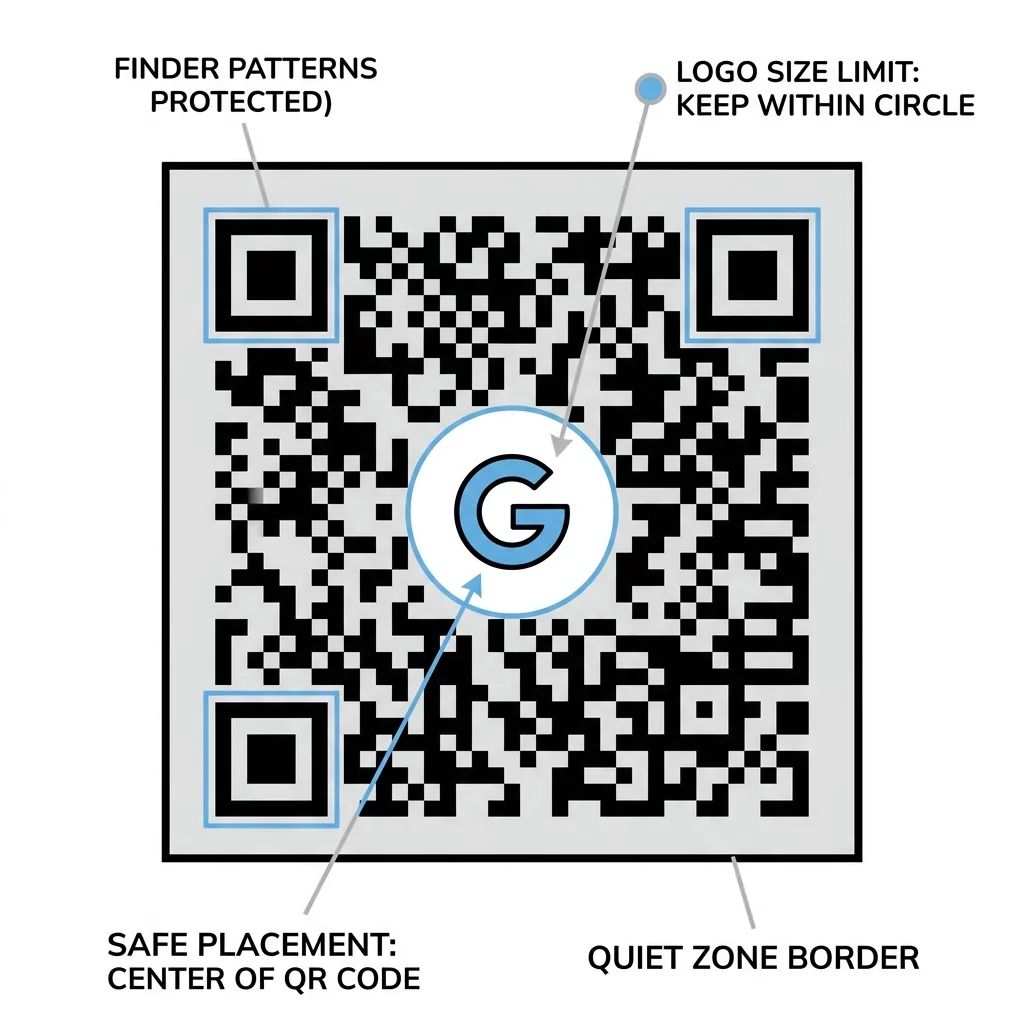
When incorporating brand elements, you should always use Error Correction Level H to compensate for the data modules covered by the logo. For a step-by-step walkthrough on creating these designs safely, check out our tutorial on how to add logos to QR codes.
Material and Print Quality Considerations
The material you choose significantly impacts how light interacts with the scanner. Highly reflective surfaces like glass, glossy laminate, or metal can create glare that blinds the camera. Whenever possible, you should opt for a matte finish to reduce reflections. If you must print on a curved surface, such as a bottle or a can, increasing the code size can help compensate for the distortion caused by the wrap.
To prevent pixelation and “blurry” codes, you should avoid using low-resolution JPEG or PNG files for professional printing. Instead, export your codes in vector formats like SVG, EPS, or PDF. Vector files remain perfectly sharp at any size, ensuring the scanner can detect the crisp edges of every module. Before committing to a large print run, it is wise to use a QR code print quality checker to verify that your design meets professional standards.
Future-proof your marketingWith a dynamic QR code generator, you can update your destination link even after the material is printed, saving you from costly reprinting if a campaign URL changes.
FAQ
While technical standards allow for smaller dimensions, the practical minimum for reliable scanning at arm’s length is 0.8 x 0.8 inches (2 x 2 cm). Codes smaller than this often fail on older smartphone models or in environments with suboptimal lighting.
Low-light environments require higher contrast and larger module sizes to be readable. If you expect your code to be scanned at night or in a dim restaurant, you should prioritize a black-on-white design and use a higher error correction level to ensure the scanner can accurately resolve the data.
It is best to avoid gradients and shadows because they introduce mid-tones that can confuse the scanning software. Scanners look for a binary difference between light and dark; gradients may create “gray” areas that make the code unreadable. Stick to solid colors for the best results.
To ensure your campaigns are effective, you should focus on maintaining high contrast, appropriate sizing, and high-quality vector exports. If you are managing multiple campaign materials, using a QR code scanner to test your own designs in real-world lighting is the best way to guarantee performance. Follow these technical guidelines to turn every physical touchpoint into a successful digital interaction.


