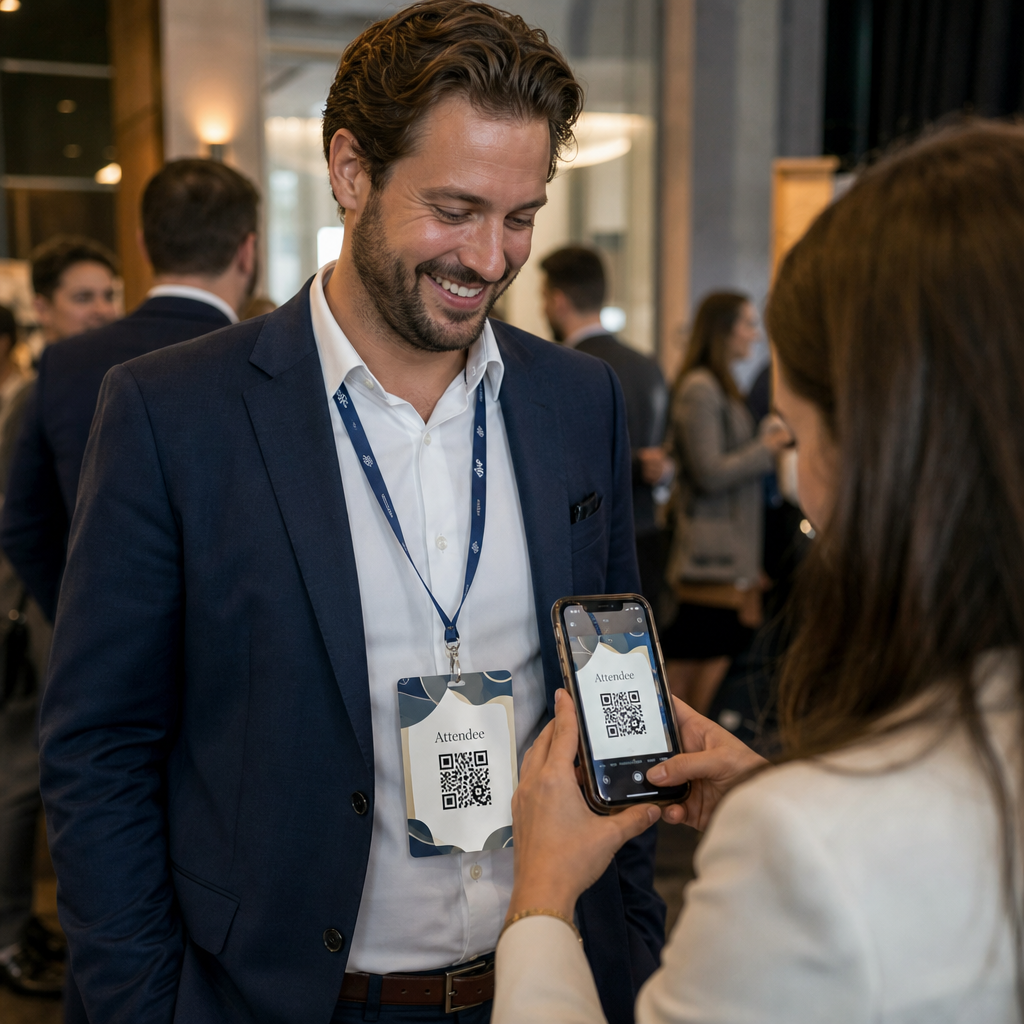
Need a faster way to share contact details or check in attendees at your next event? Manually typed details get lost, paper business cards pile up, and long check-in lines frustrate everyone. This guide walks you through how to add scannable QR codes to name tags – covering the right code type, design rules, and print specs that actually work.
Why QR Codes Belong on Name Tags
A name tag traditionally displays a name and maybe a company. That’s useful for about three seconds of conversation. A QR code turns the same badge into a persistent, scannable asset that works throughout the entire event.
Here’s what a QR code on a name tag can do:
- Share contact details instantly – One scan saves a full vCard directly to the scanner’s phone, no typing required
- Automate event check-in – Attendees scan in at the door, registering their arrival without paper lists or manual lookup
- Connect to a digital profile – Link to a LinkedIn page, personal website, portfolio, or event bio
- Parça etkileşimi – With a dynamic code, you can see exactly how many times a badge was scanned, when, and from what device
The contact-sharing use case alone justifies the addition. A vCard QR kodu encodes a name, phone number, email, company, and website in a format that iOS and Android recognize natively. When someone scans it, the phone immediately prompts them to add the contact – no app required, no manual entry, no lost cards.
Choosing the Right QR Code Type for Your Name Tag
Not every QR code serves the same purpose. Before you print anything, match the code type to your goal.
| Goal | QR Kod Türü | What It Does |
|---|---|---|
| Share contact info | vCard QR kodu | Encodes name, phone, email, company; saves directly to phone contacts |
| Event check-in | Attendance/event QR code | Links to a registration form or check-in system |
| Link to a profile or website | URL QR code | Directs to any web destination |
| Share a digital business card | Business card QR code | Links to a full digital card with social profiles and custom content |
For most networking events, a vCard QR kodu veya a kartvizit QR kodu is the right choice. For conferences where you also need to track who showed up and when, an attendance QR code veya event QR code handles that layer.
Static vs. Dynamic: Which Should You Use?
Bir Statik QR kodu encodes data directly into its pattern. Once printed, it cannot be changed. If the linked URL breaks or an attendee’s contact details change, you need to reprint every badge.
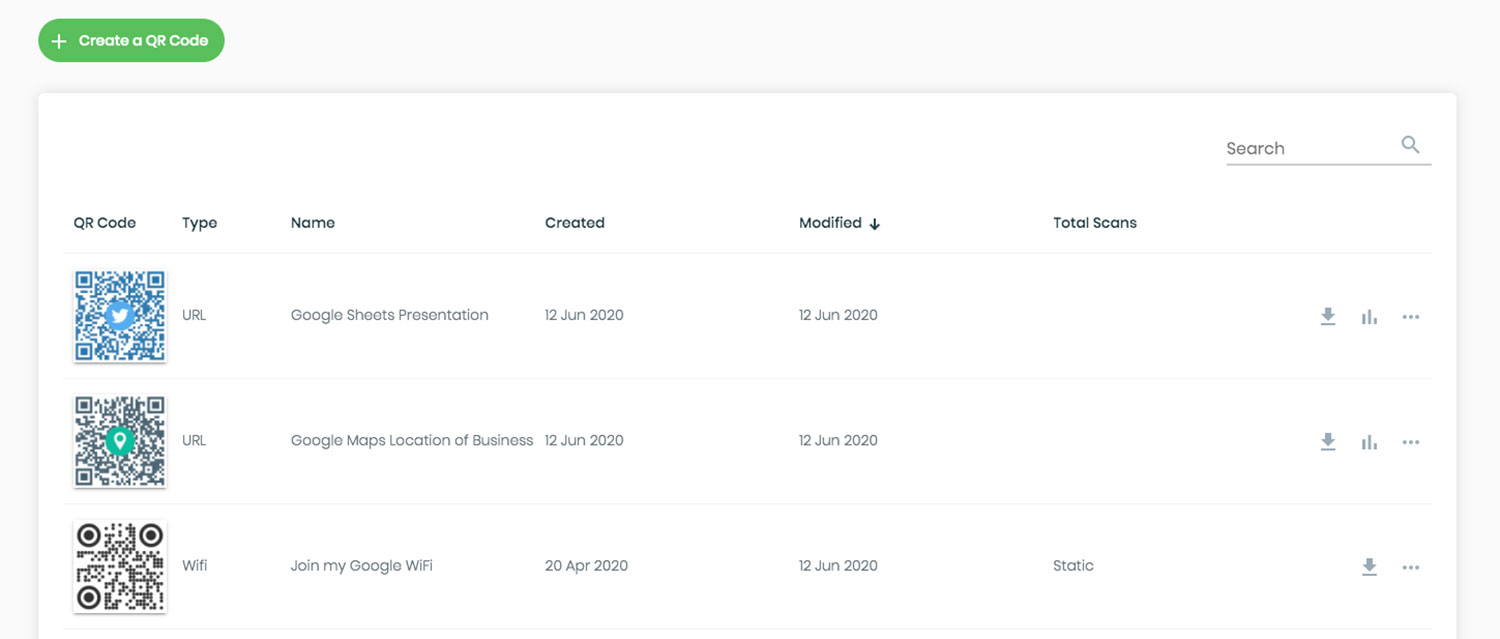
Bir dinamik QR kodu uses a short redirect link. The printed pattern stays the same, but you can update the destination anytime – even after badges are already in attendees’ hands. Dynamic codes also provide analytics: number of scans, time of scan, device type, and location. For any event with more than a handful of attendees, dinamik QR kodları are worth the extra setup step.
Important: To access tracking and editing features, you must generate a dynamic code before the printing process begins.
Set Up Trackable Name Tag QR Codes Create dynamic QR codes that you can update and monitor from a single dashboard. Use the QR Kod Oluşturucu to get started – no reprinting needed if details change.
How to Create a vCard QR Code for a Name Tag
This is the most common name tag use case – instant contact sharing at networking events, conferences, and trade shows. To get started, open the vCard QR Kod Oluşturucu and enter the required fields: at minimum a full name and one contact method such as a phone number or email address. From there, add optional fields – company name, job title, website, social profiles – to make the saved contact record more useful for the person scanning.
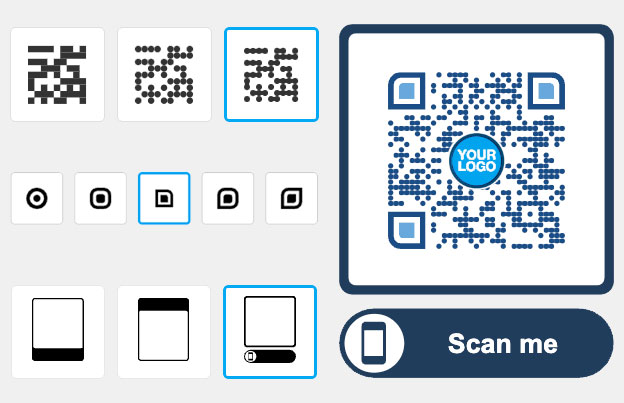
Once the data is in, customize the design by adjusting colors, adding a logo, and choosing a frame style that matches your event branding. Download the code in a print-ready format – SVG or EPS for scalable output, PNG for digital use – and test it on both iOS and Android before sending files to the printer.
Repeat this process for each attendee if you’re creating individualized badges, or create a single shared code for a company booth or team check-in point. For a deeper look at vCard setup and best practices, the guide to vCard QR codes covers the full workflow in detail.
How to Use QR Codes for Event Check-In on Badges
For conferences, workshops, or any ticketed event, a QR code on the badge doubles as both a check-in credential and a networking tool. Start by creating a registration form using Google Forms, Typeform, or your event management platform. Then generate an attendance QR code that links directly to the form or check-in system and print it on each attendee badge before the event – or include it in a pre-event email for self-service printing.
At the door, staff scan each badge with a smartphone or handheld scanner to register arrival. The system logs the scan automatically, with no paper lists or manual lookup needed. QR code check-ins can reduce processing time to under two seconds per person, which cuts total entry duration significantly compared to manual methods. For a full walkthrough of event check-in setup, see the guide to QR codes for event check-ins.
You can also combine both functions on a single badge: a vCard QR code for contact sharing and a separate attendance code for check-in. Place them in different areas of the badge with clear labels so attendees and staff know which to scan and when.
Automate Your Event Check-In Stop managing paper lists and manual lookups. Use the Attendance QR Code tool to set up a scan-based check-in system that registers arrivals in real time.
Design Rules That Keep Name Tag QR Codes Scannable
A QR code that looks good but fails to scan is useless. Name tags create specific challenges: small print area, varied lighting conditions, badges worn at different angles, and people scanning from arm’s length. The following rules address each of these problems directly.
Size: Apply the 10:1 Ratio
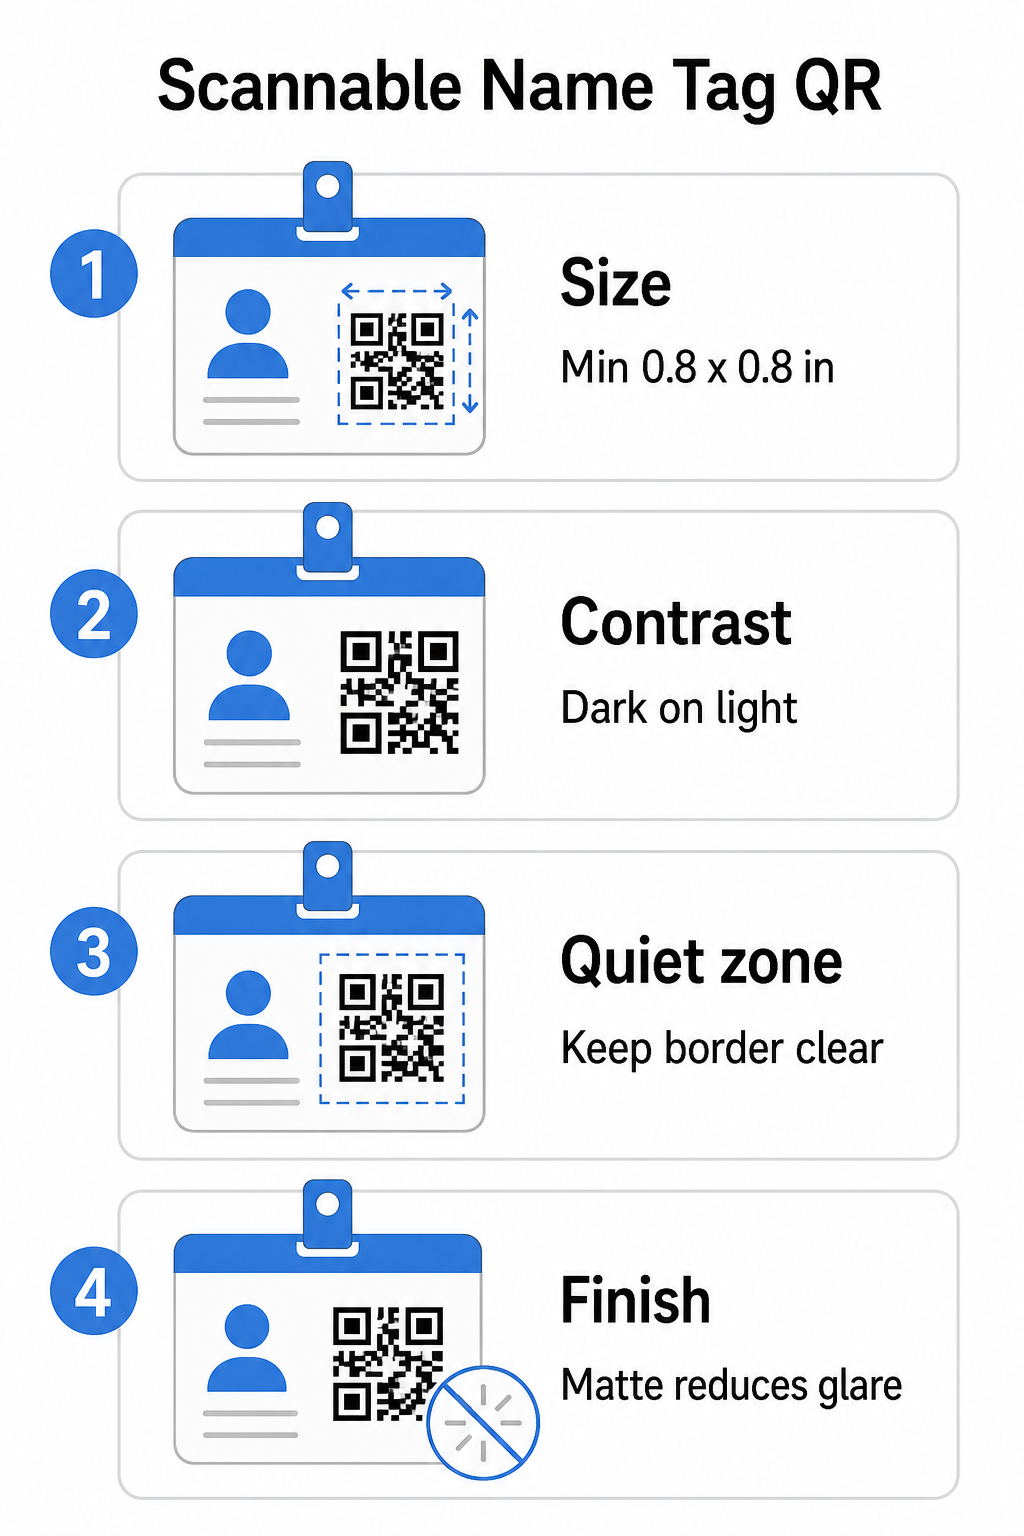
The QR code’s smallest dimension should be roughly one-tenth of the expected scanning distance. For a name tag scanned from about 10 inches (25 cm) away, the code needs to be at least 1 inch (2.5 cm) wide. The practical minimum for any close-range printed code is 0.8 × 0.8 inç (2 × 2 cm) – going smaller creates unnecessary scan failures, especially on older phones. If your badge has the space, sizing the code closer to 1 × 1 inch gives more reliable results across a wider range of devices. For more detail on sizing decisions, see QR code sizes for business cards – the same principles apply directly to name tags.
Contrast: Dark on Light Only
Scanners work by detecting the contrast between dark modules and a light background. Best practice is a açık arka plan üzerinde koyu ön plan – black on white remains the most reliable combination. Inverted codes (light modules on a dark background) cause failures on many scanning apps, particularly older ones. Aim for a en az 4:1 kontrast oranı, which supports readability across different lighting environments and device cameras.
Avoid gradients and shadows in or around the QR code area. These create mid-tones that confuse scanner algorithms and reduce reliability in low-light settings. The QR code color contrast best practices guide provides specific color combination guidance and a contrast comparison table if you want to use branded colors rather than plain black and white.
Quiet Zone: Keep the Borders Clear
Bu sessiz alan is the blank margin surrounding the QR code on all four sides. It tells the scanner where the code begins and ends – without it, the scanner cannot reliably locate the symbol. Per the ISO/IEC 18004 standard, this margin must be at least four modules wide on every side. If your badge design places text, logos, or decorative elements too close to the code, the scanner may fail to detect it entirely. As a practical rule: if each module in your code is 2 mm wide, the quiet zone should be at least 8 mm on every side.
Error Correction: Bump It Up If Adding a Logo
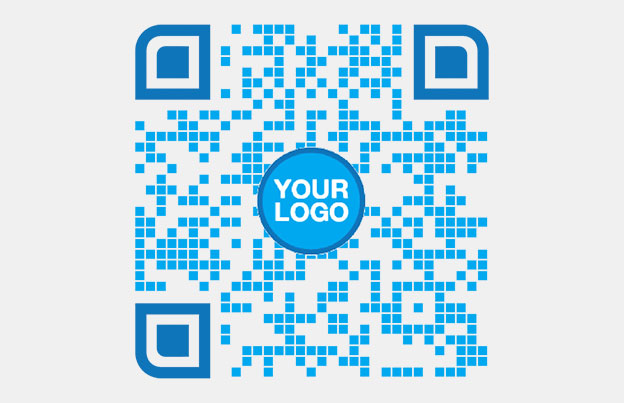
QR codes have four error correction levels that determine how much physical damage or obstruction the code can tolerate while remaining scannable: L (approximately 7%), M (approximately 15%), Q (approximately 25%), and H (approximately 30%). If you’re embedding a company logo or icon inside the code area – common for branded badges – use error correction level H and keep the logo to no more than 30% of the code area. This gives the scanner enough redundant data to reconstruct the pattern even with part of it covered. If you’re not adding a logo, level M or Q is sufficient for most print applications.
Shape and Format: Never Stretch or Compress
A QR code must remain perfectly square. Stretching or compressing the code to fit a layout misaligns the modules and makes it unscannable. Always scale proportionally and export in vector formats (SVG or EPS) for print to avoid pixelation at larger sizes.
Finish: Choose Matte Over Glossy
Glossy badge materials reflect light and create glare that interferes with camera scanning. Matte lamination or uncoated stock performs significantly better in real-world event lighting. If you’re printing on glossy badges, test the codes under your venue’s actual lighting conditions before finalizing the print run. The QR code readability best practices guide covers each of these factors with additional depth.
Placement on the Badge
Where the QR code sits on a name tag affects how often it gets scanned. Consider these placement principles:
- Position at a natural eye level when worn – the lower half of a chest-height badge is easy to scan without asking someone to remove it
- Label the code clearly – include a short instruction like “Scan to save contact” or “Check in here” directly below or beside the code; people are significantly more likely to scan when they know what the code does
- Separate multiple codes – if your badge includes both a check-in code and a contact-sharing code, label each clearly and give them enough space to be scanned individually without confusion
- Avoid placing the code near the badge clip or lanyard hole – these areas get folded or covered, which can block part of the code or the quiet zone
Baskıdan Önce Test Etme
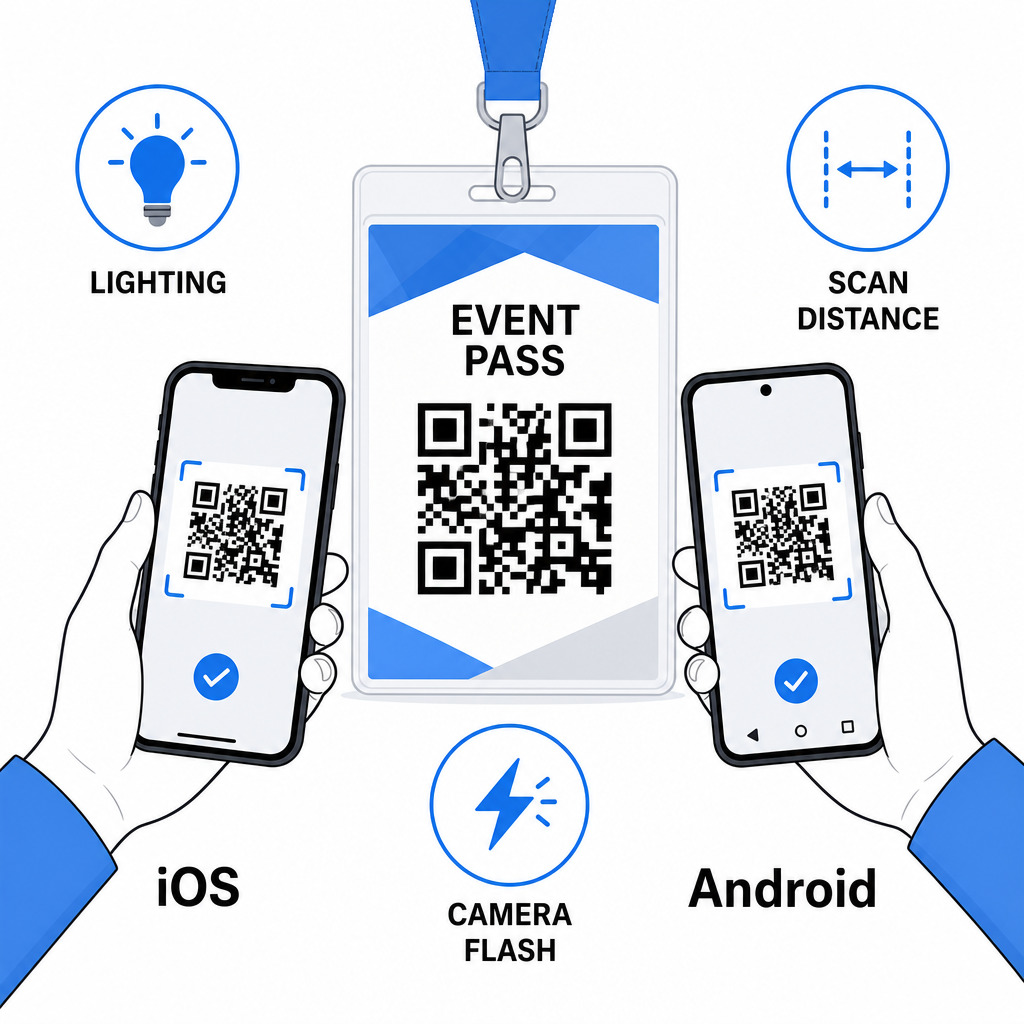
Print a proof and scan it before sending the full badge order to production. Test the code on both iOS and Android devices, under the lighting conditions of your event venue, at the distance attendees and staff will actually scan from, and with and without the camera flash to simulate low-light scenarios. A code that passes all four tests is ready for production. One that fails on any of them needs a design adjustment – whether that’s increasing size, improving contrast, or expanding the quiet zone – before you commit to a full print run.
QR codes on name tags work best when the right code type, clean design, and correct print specs come together before a single badge goes to print. Choose a dynamic code if attendee details might change or if you want scan analytics. Follow the sizing, contrast, and quiet zone rules to ensure every badge scans reliably on the day. And always test on actual devices before finalizing production.
Build Your Name Tag QR Codes Create customizable vCard and attendance QR codes with built-in analytics and dynamic editing. Start with the Pageloot QR Kodu Oluşturucu – free to try, no credit card required.
Sıkça Sorulan Sorular
You can encode contact details such as name, phone, email, company, and website using a vCard QR code, link to an event check-in form using an attendance QR code, or point to any web destination such as a LinkedIn profile or digital portfolio. The right choice depends on whether the primary goal is contact sharing, check-in, or general information access.
The practical minimum for a name tag QR code is 0.8 × 0.8 inches (2 × 2 cm). Going smaller increases the risk of scan failures, especially on older smartphones. If your badge design has the space, sizing the code closer to 1 × 1 inch gives more reliable results across a wider range of devices and lighting conditions.
If you used a static QR code, you would need to reprint the affected badges. If you used a dynamic QR code, you can update the destination – whether that’s a vCard, a contact page, or a form link – from your Pageloot dashboard without touching the printed badge. This is one of the primary reasons to use dynamic codes for any event with variable attendee information.