Are unreadable badge QR codes slowing down your event check-in lines and frustrating exhibitors? Unscannable codes create registration bottlenecks, cause lost lead data, and ruin the attendee experience. This guide explains how to design, print, and implement scannable QR codes on conference badges for rapid access control, lead capture, and networking.
Key Use Cases for Badge QR Codes
Conference badges serve multiple operational purposes throughout an event. Adding a scannable QR code transforms a static name tag into a digital key for attendees, staff, and sponsors.
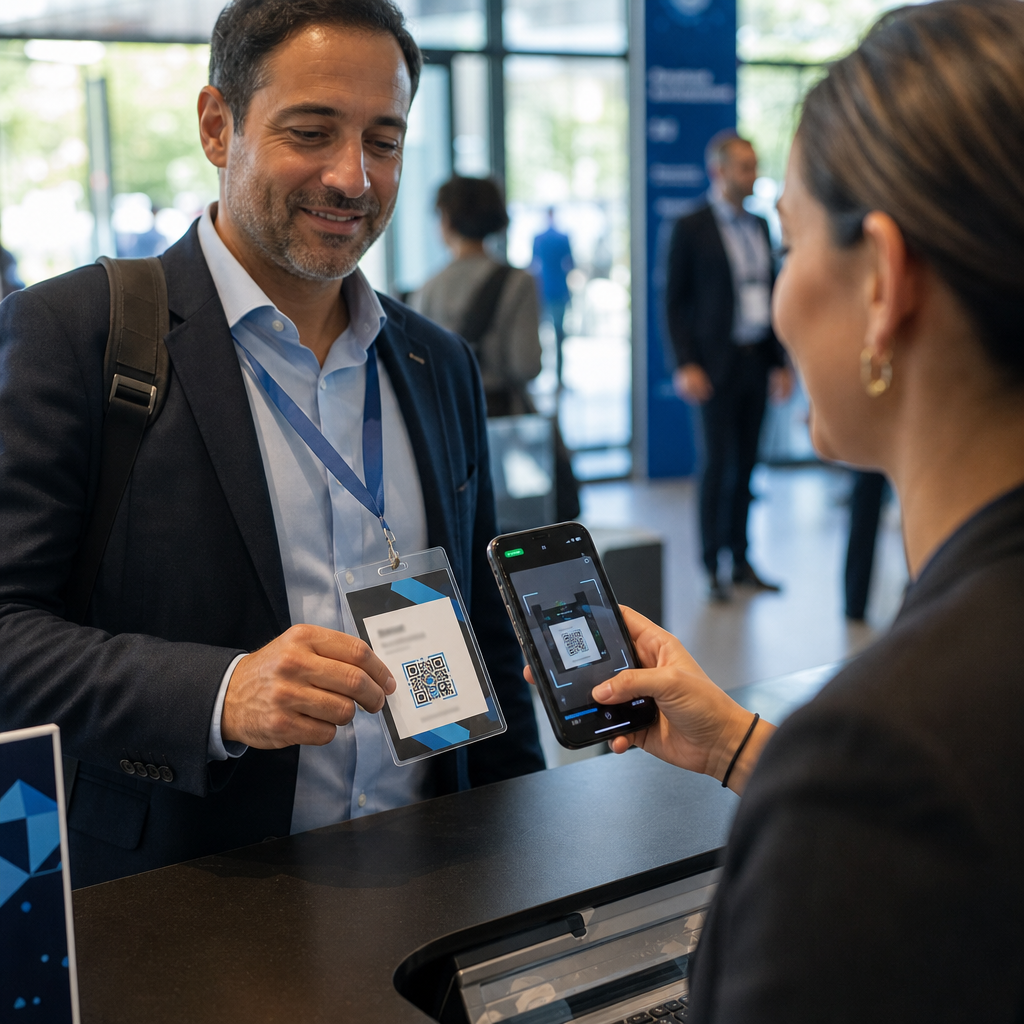
- Venue Access Control and Event Check-In: Scanning an attendee badge at registration desks or session room doors instantly verifies ticket status. Implementing an attendance QR code workflow accelerates entry and provides organizers with real-time room capacity tracking.
- Exhibitor Lead Capture: Booth staff scan attendee badges to capture contact details without exchanging physical business cards. This allows sponsors to log qualified leads directly into their customer relationship management systems during trade shows.
- Peer-to-Peer Networking: Attendees exchange contact details instantly by scanning each other’s badges. Linking a badge code to a digital contact card using a vCard QRコードジェネレータ allows recipients to save names, phone numbers, and email addresses directly to their smartphone address books.
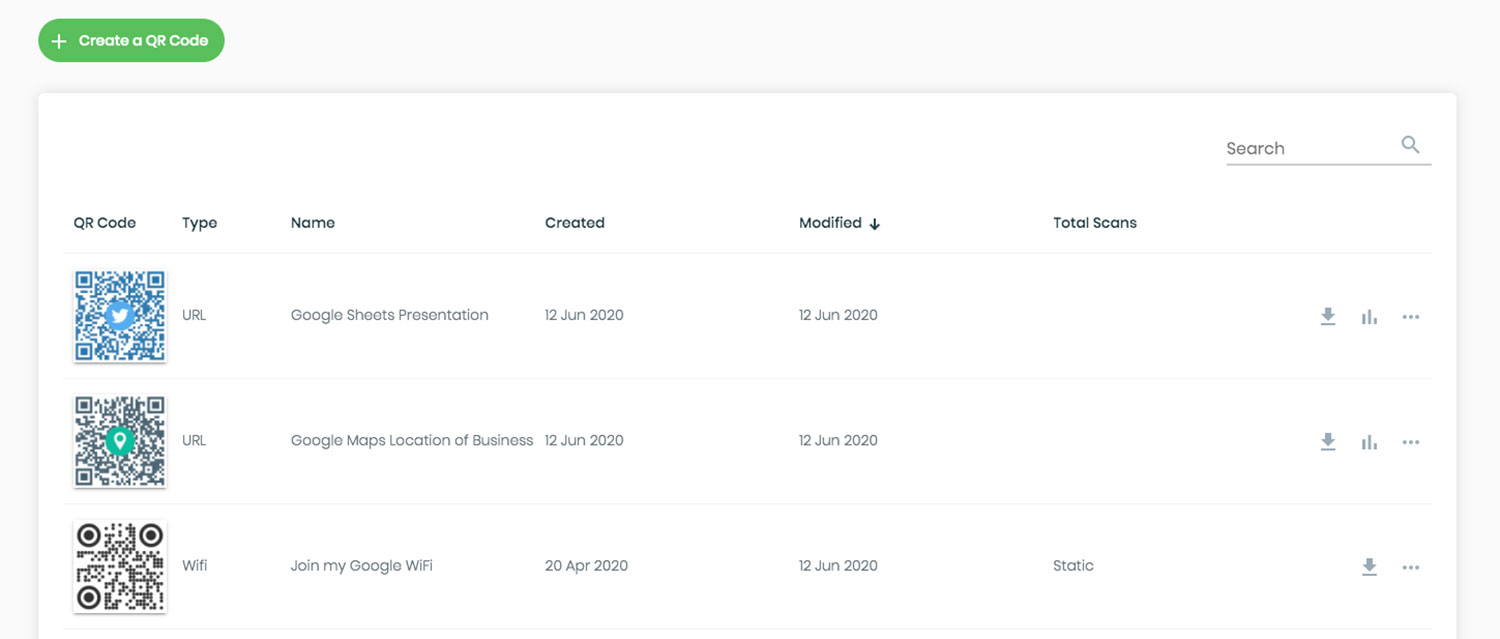
To ensure fast scanning across all three use cases, minimize the amount of raw data stored inside the barcode pattern. High data density creates smaller, tighter square patterns (modules) that are harder for mobile cameras to process quickly. Using a ダイナミックQRコードジェネレーター allows you to encode a short redirect link or unique identifier string, keeping the visual pattern sparse and easy to read.
Create Custom Event QR Codes in Minutes Simplify attendee registration and badge scanning by designing customizable event codes with the イベントQRコードジェネレーター で今すぐ利用可能なツールをご覧ください。.
Technical Guidelines for Badge Scannability
A badge code that fails to scan creates long wait times and accurate data loss. Follow these technical design standards to ensure every badge scans reliably on the first attempt.
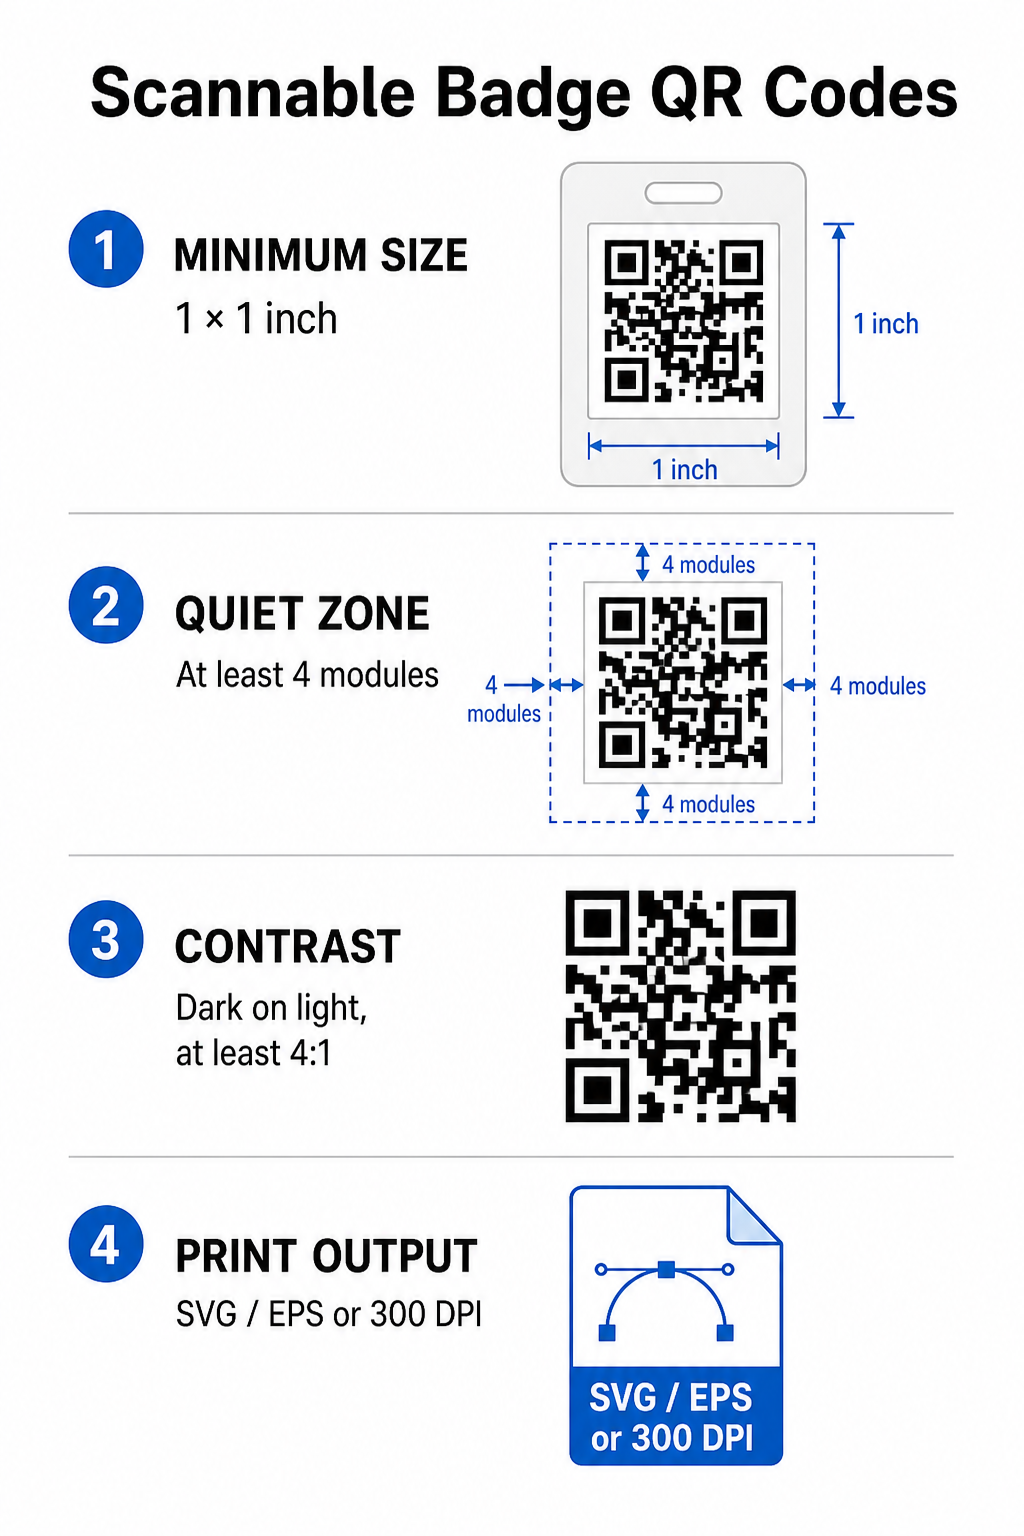
| Feature Standard | Technical Requirement | Operational Reason |
|---|---|---|
| 最小印刷サイズ | 1 × 1 inch (2.5 × 2.5 cm) | Guarantees clear focus for handheld scanners at arm’s length (10–25 inches). |
| Quiet Zone Margin | At least 4 modules wide | Prevents surrounding text, logos, or badge borders from interfering with the reader. |
| カラーコントラスト | Minimum 4:1 contrast ratio | Ensures optical sensors distinguish dark foreground modules from background paper. |
| Image Resolution | Vector format (SVG/EPS) or 300 DPI | Eliminates blurry or pixelated edges when scaling badge artwork for print runs. |
Color Contrast and Visual Styling
Always print dark QR patterns on light backgrounds. Black modules on a white background provide the highest readability score and a standard 21:1 contrast ratio. While custom brand colors can be used, maintain at least a 4:1 contrast ratio to accommodate varying venue light levels. Avoid inverted designs with light patterns on dark backgrounds because many native smartphone camera readers fail to process inverted codes. For detailed color selection rules, review our guide on QRコードの色のコントラストに関するベストプラクティス.
クワイエットゾーンの要件
The quiet zone is the clear margin surrounding all four sides of a QR code. Standards require a quiet zone width equal to at least four times the width of a single individual module (square block). Never place names, job titles, sponsor logos, or background graphics inside this margin, as doing so prevents the scanner from locating the code boundaries.
Badge Materials and Printing Techniques
The physical substrate and surface finish of a badge significantly impact how light reflects into a scanning lens.
Selecting Substrates and Finishes
Choose matte or uncoated cardstock whenever possible. High-gloss plastic badges, shiny clear overlays, and heavy vinyl pouches reflect overhead venue lighting directly into camera lenses, causing washouts and scan errors. If clear plastic badge holders or glossy lamination are required by your venue setup:
- Scale up the printed code size by 15% to 20% to give camera sensors a larger target.
- Instruct camera operators or booth staff to hold scanning devices at a slight angle to bypass direct light reflection.
- Avoid textured synthetic cardstock that disrupts the straight geometric edges of printed modules.
Exporting Files for Production
Never export badge artwork as low-resolution JPEG or PNG files. Resizing bitmap images causes pixel smudging, which rounds off sharp module corners. Export artwork in vector formats such as SVG or EPS, or export high-resolution PDFs set to 300 DPI at full print scale. For a comprehensive overview of how substrate choices and ink application affect scannability, read our article on 印刷技術がQRコードのスキャン可能性にどのように影響するか.
Badge Placement Rules
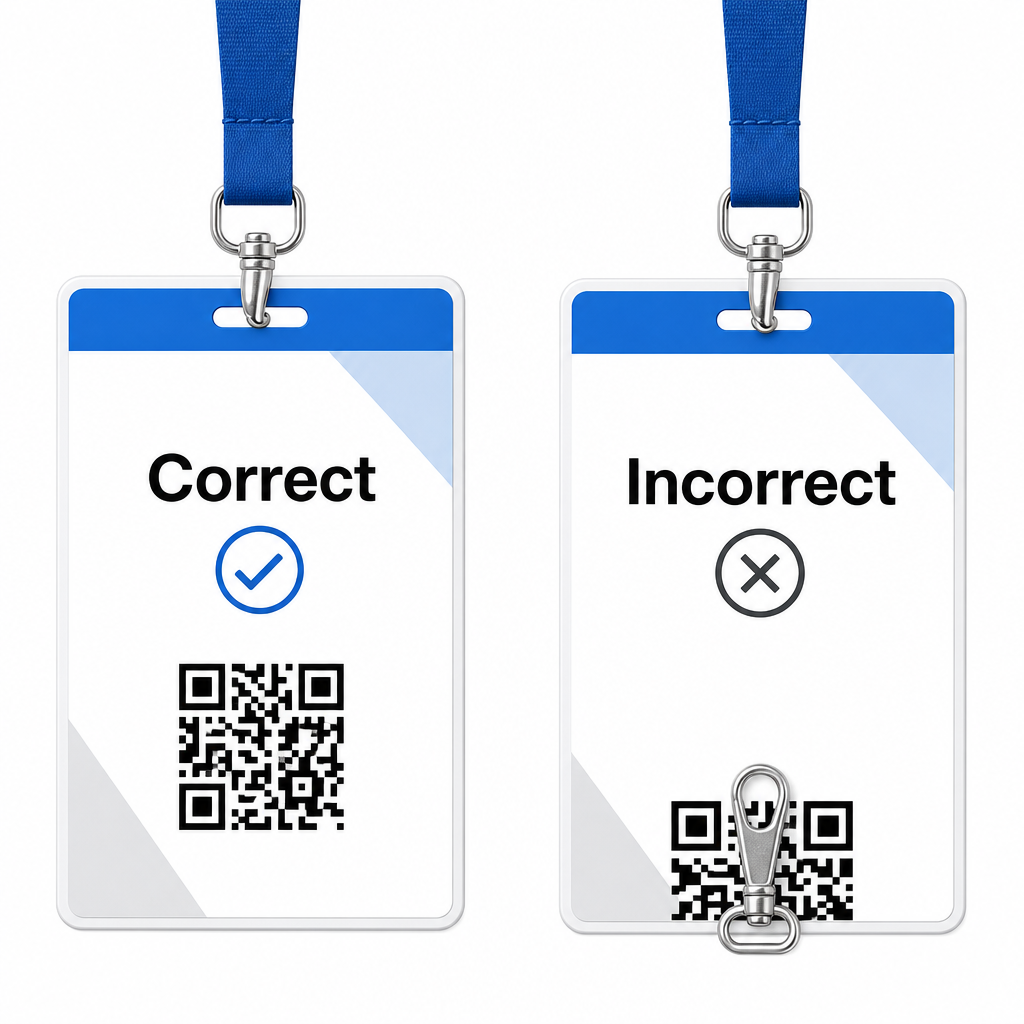
Position the QR code on the front face of the badge, ideally near the center or bottom third where it remains unobstructed by lanyards or clips. Placing the code near the primary reading path ensures quick visual alignment during check-in. Explore our recommendations in the guide to QR code placement in marketing, and review real-world implementations in our case study on scientific conferences. For exact sizing details based on physical scanning distance, reference our dedicated QRコードサイズガイド.
Data Privacy and Operational Scanning Workflows
Implementing badge QR codes requires balancing fast operational workflows with attendee data protection.
Protecting Attendee Data
Encoding full personal information – such as phone numbers, street addresses, and email addresses – directly into a static barcode payload exposes attendee data to anyone who scans the badge with a commercial camera app.
Instead, encode an encrypted, unique alphanumeric identifier (such as `ID-88302`). When authorized event personnel scan the badge using an enterprise tool or an online QRコードスキャナ, the backend system verifies the identifier securely without printing sensitive personal data inside the physical badge payload.
Establishing Lead Capture Consent
To maintain compliance with privacy regulations:
- Separate Use Cases: Treat event check-in scanning as distinct from exhibitor lead collection. Checking into a venue does not automatically grant third-party sponsors permission to store contact data.
- Provide Clear Notice: Inform attendees during registration that allowing an exhibitor to scan their badge constitutes an explicit choice to share contact information with that specific sponsor.
- Use Explicit Scans: Ensure booth retrieval apps display a visual success confirmation (such as a green confirmation banner) so attendees know when a lead scan takes place.
Operational Checklist for Event Success
Before printing your complete batch of conference badges, execute this quality assurance checklist:
- Verify Contrast: Test background and foreground combinations using a digital contrast checker to ensure a ratio above 4:1.
- Maintain Quiet Zones: Verify that a 4-module clear border surrounds every badge code in the final layout template.
- Print Physical Proofs: Never rely solely on screen previews. Print actual physical badge proofs on the selected badge paper or cardstock.
- デバイス間でテスト: Scan physical proofs under realistic venue lighting using multiple smartphone models (both iOS and Android) and dedicated handheld scanners.
- Confirm Data Routes: Check that dynamic QR links resolve to the correct landing pages or check-in system databases without breaking.
Streamline Your Next Event with Scannable Badges
Following these design, substrate, and data standards ensures your event badges deliver effortless check-ins and reliable lead generation. Designing badges with proper contrast, sufficient quiet zones, matte finishes, and lightweight dynamic payloads eliminates registration bottlenecks and protects attendee privacy.
To start creating high-contrast, scalable QR codes for your upcoming event materials, explore our QRコードの読みやすさに関するベストプラクティス and test your badge artwork today.
よくある質問
Print badge QR codes at least 1 × 1 inch (2.5 × 2.5 cm) or a minimum of 2 × 2 cm. This size accommodates typical arm’s-length scanning distances of 10 to 25 inches when using standard smartphone cameras.
Dynamic QR codes encode a short redirect link rather than dense raw text, keeping the visual pattern simple and fast to scan. They also allow organizers to edit destination URLs or manage access settings post-printing without reissuing physical badges.
Use non-reflective matte badge stock whenever possible. If clear vinyl pouches are required, scale up the QR code size by 15% to 20% and instruct staff or exhibitors to hold scanning devices at a 45-degree angle to avoid direct overhead light reflections.