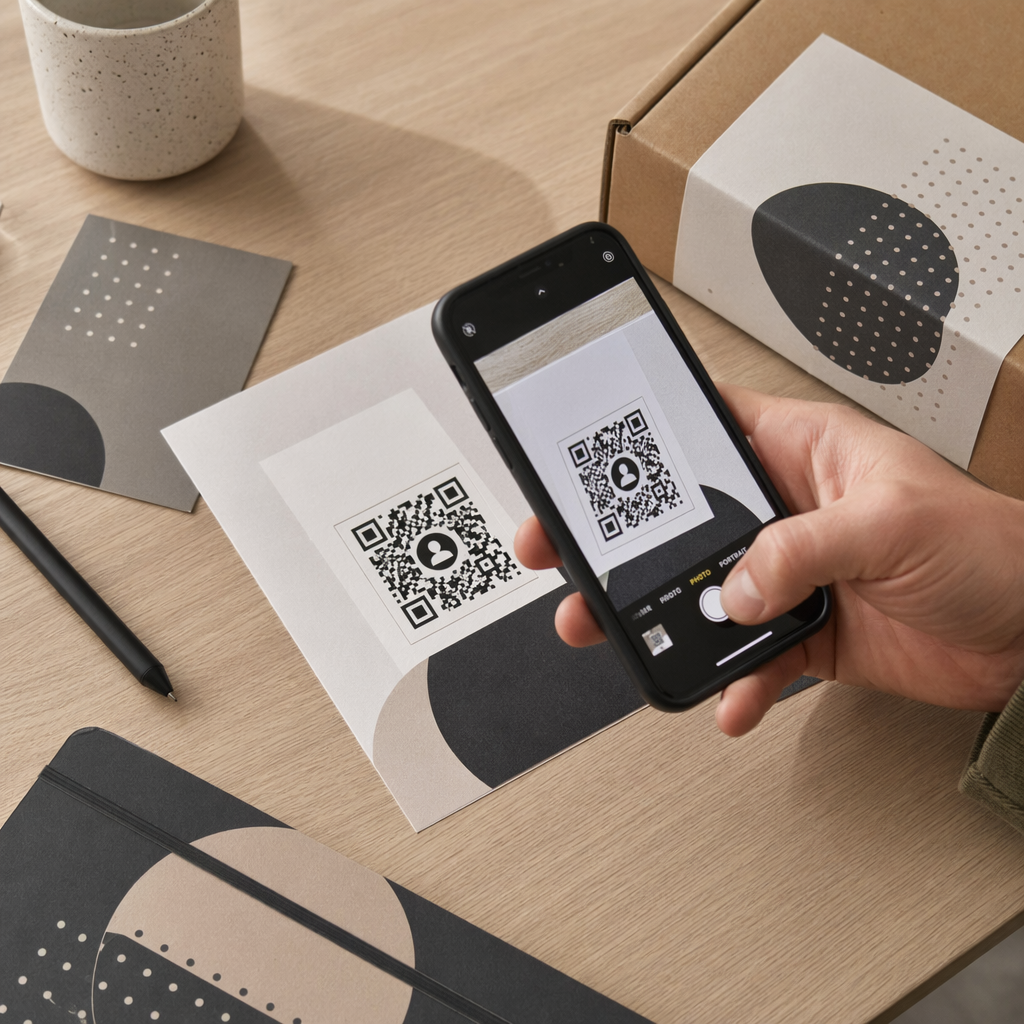
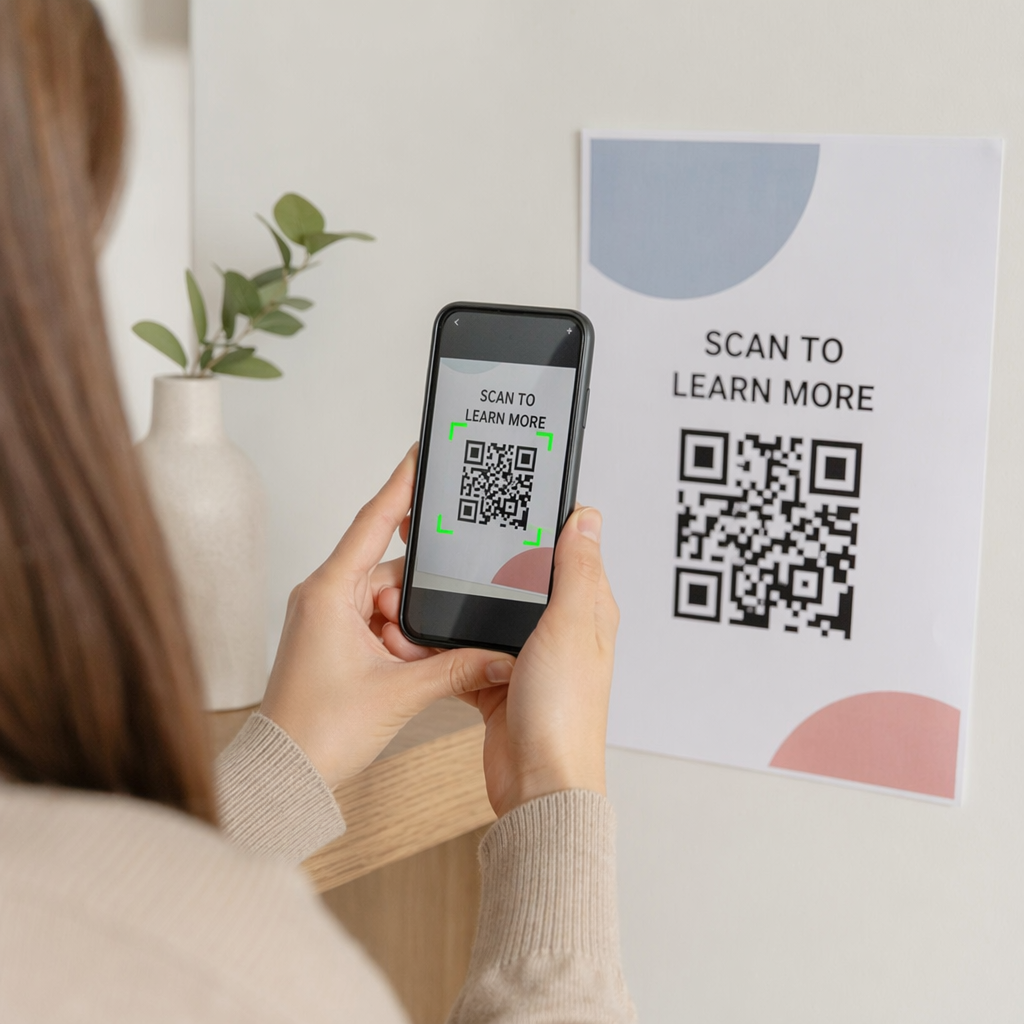
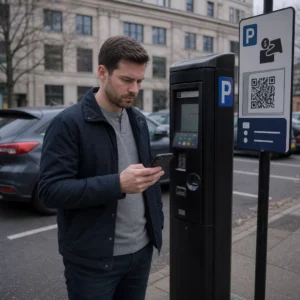
Have you ever worried that a standard black-and-white QR code looks too clinical for your marketing materials? When a code feels disconnected from your design, users are less likely to trust or interact with it. Embedding an image allows you to maintain brand consistency while driving higher engagement through visual appeal.
Understanding Embedded Images in QR Codes
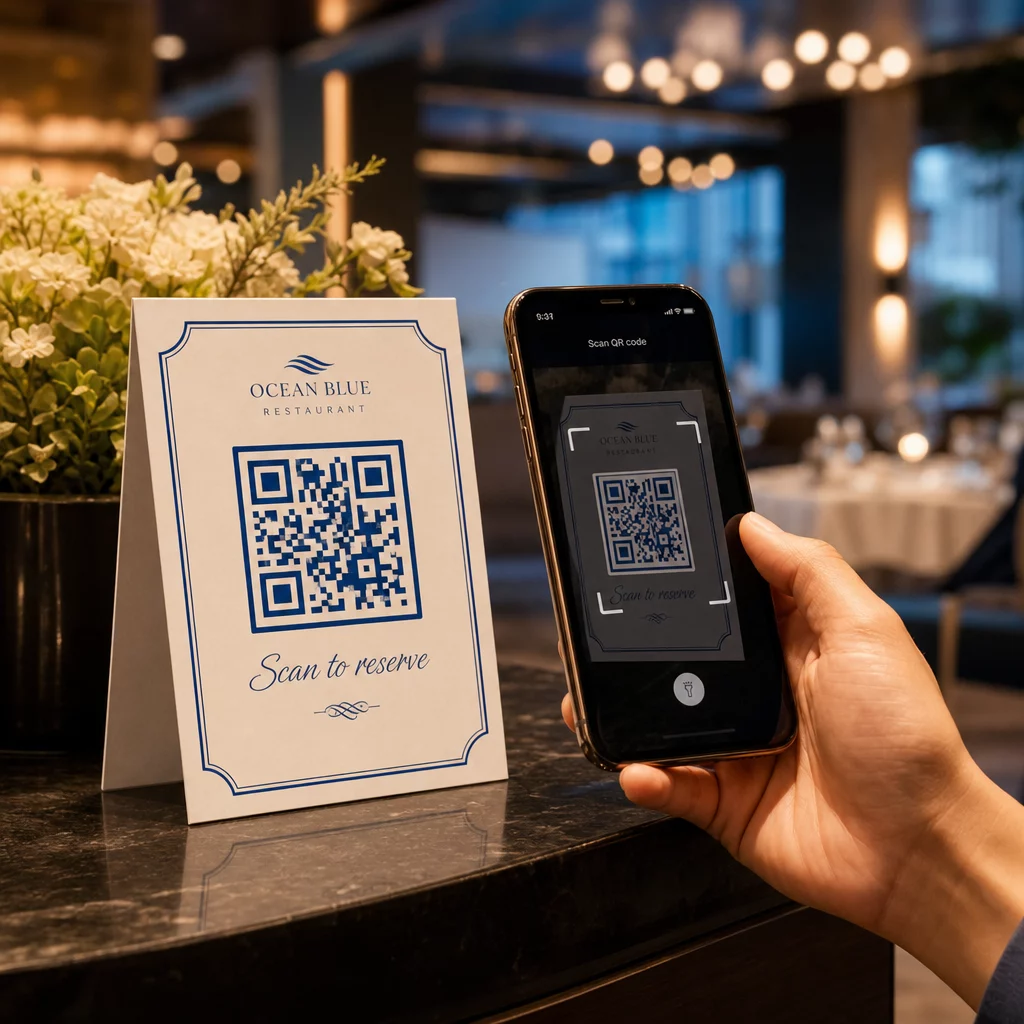
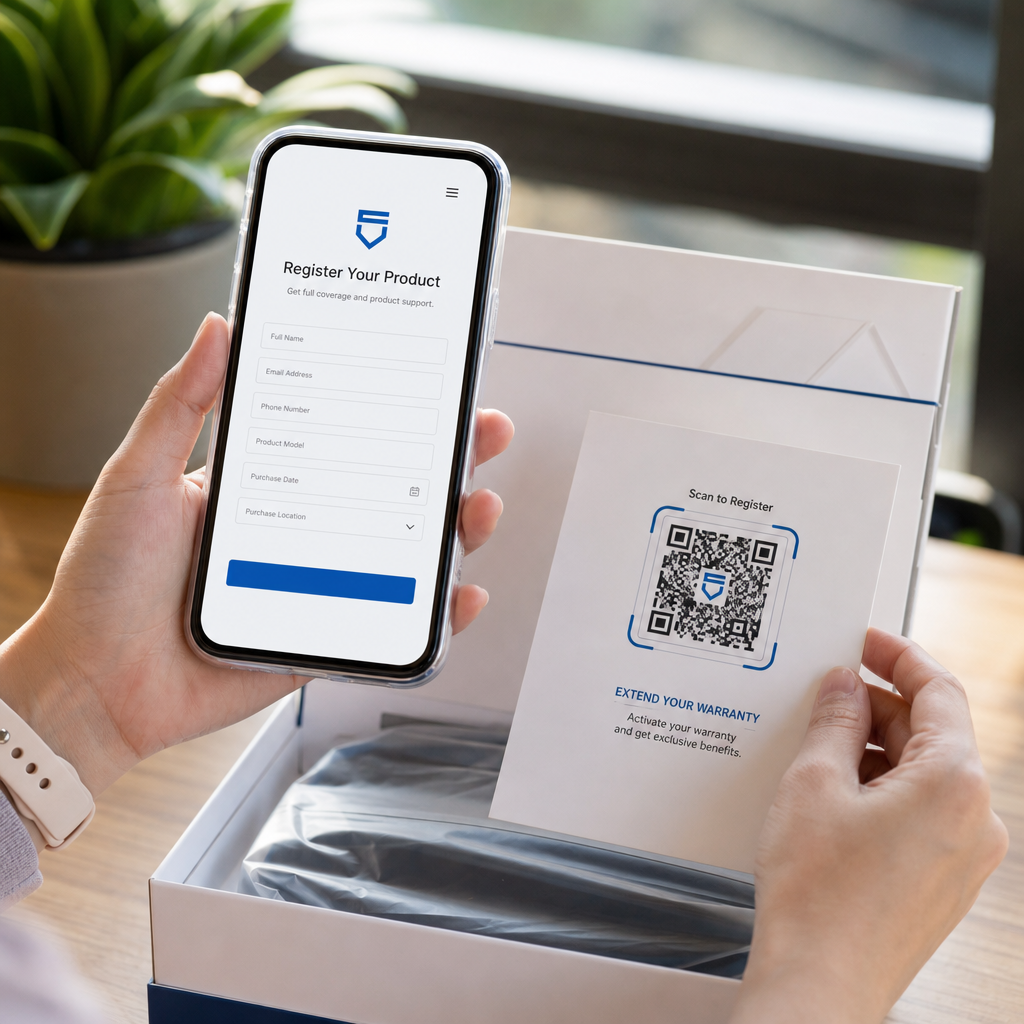
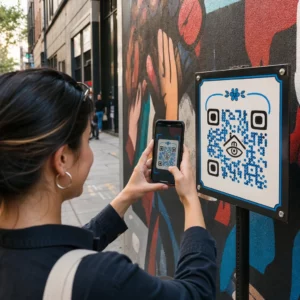
An embedded image is a graphical element, such as a logo or icon, placed directly inside a QR code. This technique transforms a generic data matrix into a branded asset, often referred to as a custom QR code or a branded code. While a standard QR code is composed of black modules on a white background, embedding an image uses the inherent redundancy of the QR system to overlay visuals without breaking the digital link.
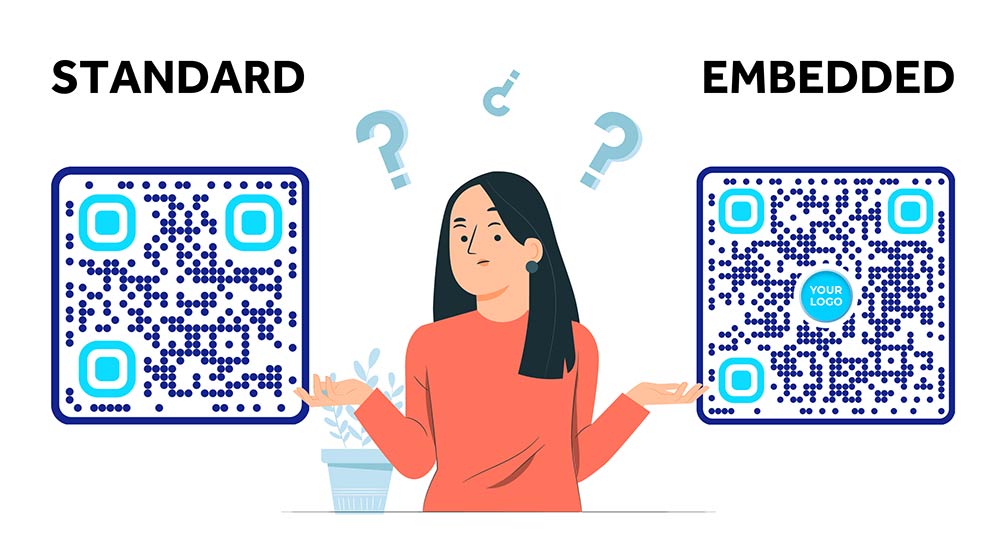
The goal of this design is to make the code more recognizable and trustworthy. When customers see a familiar logo in the center of the code, they are more likely to perceive the destination as legitimate. However, achieving this requires a balance between aesthetic design and technical functionality. If the image is too large or poorly placed, it can obscure the data modules and render the code unreadable by smartphone scanners.
The Role of Error Correction in Branded Designs
To successfully embed an image, you must utilize a technical feature called Reed-Solomon error correction. This algorithm adds redundant data to the QR code, allowing it to remain functional even if parts of it are damaged, dirty, or obscured by a logo. Understanding how error correction works is vital because it determines how much of the code’s area you can safely cover with an image.
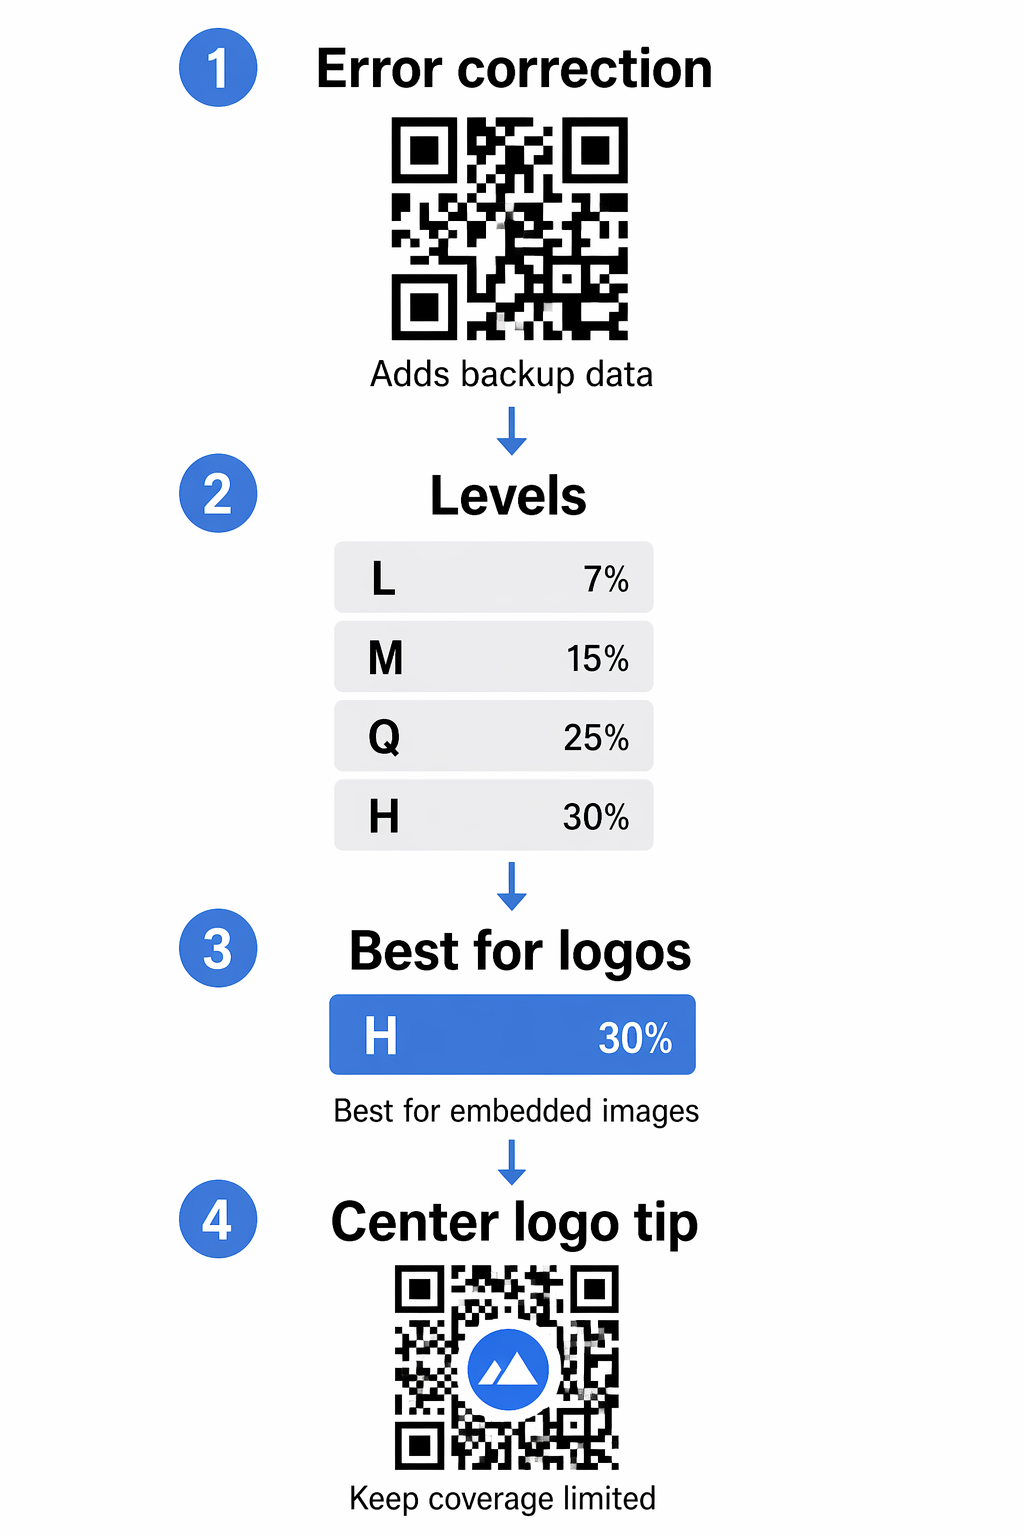
There are four standardized levels of error correction, each offering a different percentage of data recovery:
- Level L recovers approximately 7% of obscured data.
- Level M recovers approximately 15% of obscured data.
- Level Q recovers approximately 25% of obscured data.
- Level H recovers approximately 30% of obscured data.
For any design that includes an embedded image or logo, Level H is the preferred choice. Because this level provides the highest amount of redundancy, it ensures the scanner can still reconstruct the necessary information even when a significant portion of the center is covered by your branding.
Essential Design Limits for Scannability
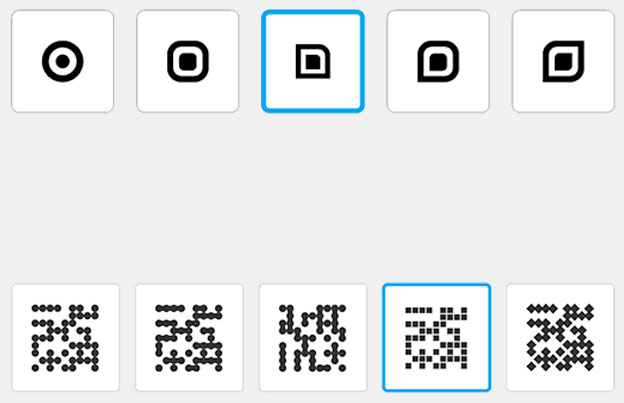
While error correction provides a safety net, you must still adhere to strict design limits to ensure the code works across all devices. The most critical rule is to place the image in the center of the code. This is because the center typically contains less critical structural information than the edges. You must specifically avoid covering the “finder patterns,” which are the three large squares in the corners that scanners use to determine the code’s orientation and size.
Size and contrast are equally important factors for a successful design. To maintain reliability, follow these guidelines:
- Limit the image size to approximately 30% of the total QR code area, or 25% of the code’s width and height.
- Maintain a high contrast between the QR code and its background, ideally aiming for a 3:1 or 4.5:1 ratio, as detailed in QR code color contrast best practices.
- Ensure a “quiet zone” or a blank margin of at least four modules on all sides of the code to prevent surrounding graphics from confusing the scanner.
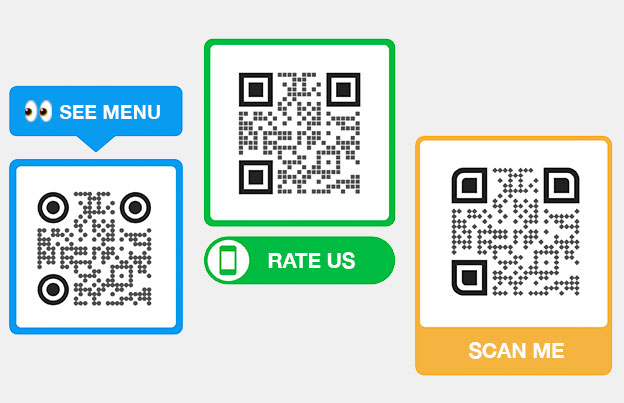
- Avoid using complex photos or intricate icons that might look like data modules to a scanner; simple, bold logos work best.
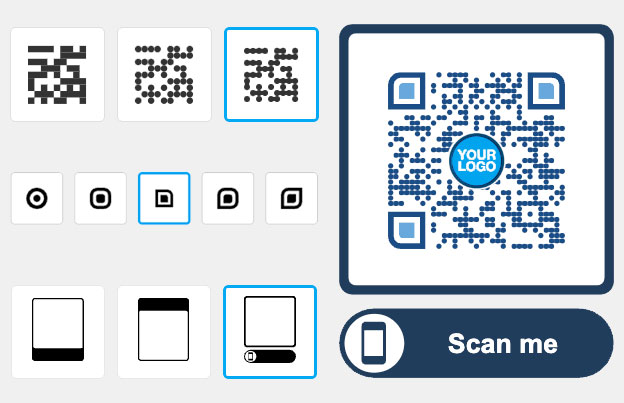
Brand Your Physical Touchpoints Instantly Ready to turn a generic QR code into a branded asset? Use the QR Code Generator with Logo to embed your image and customize your design today.
How to Embed Your Image Step-by-Step
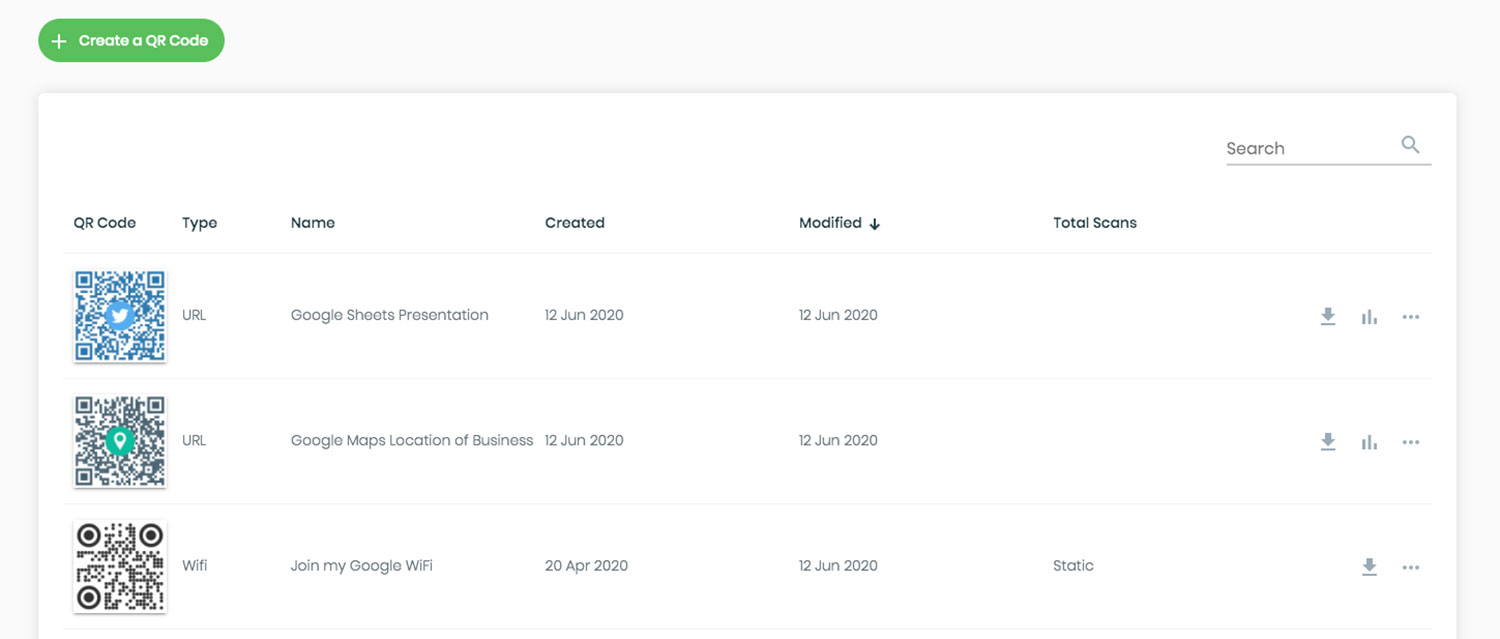
Creating a branded code starts with choosing a professional QR code generator with logo that supports high error correction. Once you have selected your tool, enter the URL or data you wish to encode. Before uploading your image, ensure that the generator is set to Level H error correction to accommodate the visual overlay.
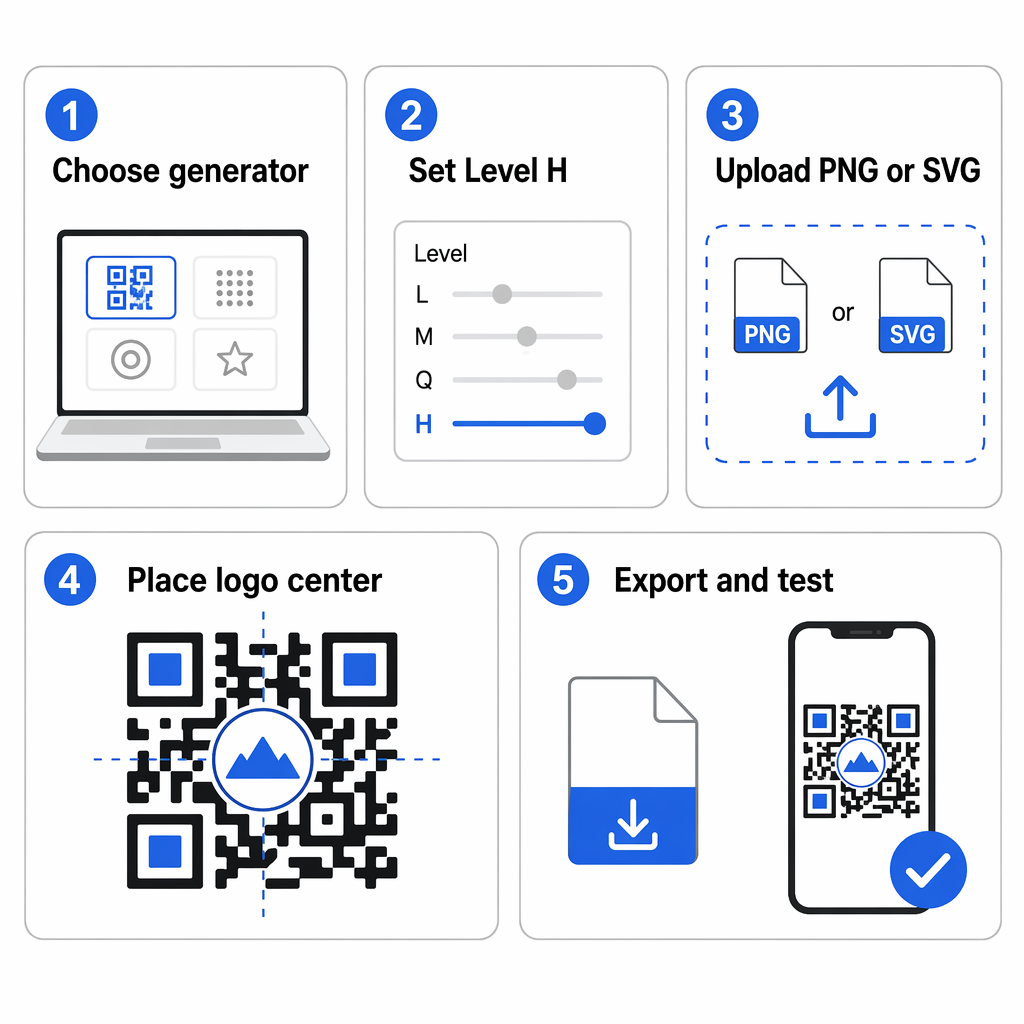
After configuring the data, upload a high-resolution version of your logo, preferably in a PNG or SVG format. Vector formats like SVG are ideal because they remain sharp at any size, which is critical for print quality. Position the logo in the center and scale it so it does not encroach on the finder patterns or timing patterns. Once the design is finalized, download the file in a high-resolution format to prevent blurriness that could hinder scanning. For more detailed instructions on this workflow, you can explore the guide on how to add logos to QR codes.
Testing Your QR Code Across Multiple Environments
The final and most important step is rigorous testing. A design that works on a high-end smartphone in a brightly lit office may fail on an older device or in a dim restaurant. You should test your branded code using various scanning apps and both iOS and Android devices to ensure universal compatibility.
Testing should also account for the physical environment where the code will be displayed. Check the scannability under different lighting conditions, at various distances, and on the actual material it will be printed on, such as matte paper or glossy plastic. Following 9 QR code design tips can help you identify potential issues before you invest in a large print run. If you find that the code is difficult to scan, try reducing the size of the embedded image or increasing the contrast between the modules and the background.
Frequently Asked Questions
While most logos can be embedded, simple designs are much more effective. Highly complex images or photographs with low contrast can confuse the scanner by mimicking the data modules of the code itself. For the best results, use a simple, high-contrast logo and always use the highest level of error correction.
If done correctly with high error correction, the code should scan quickly. However, embedding an image does increase the density of the code, which means the individual modules are smaller. This makes it even more important to follow best practices for QR code readability, such as ensuring proper sizing and avoiding reflective surfaces.
You can only change the image or the destination link if you use a dynamic QR code. Static codes have the data and design hardcoded into the pattern. Using an image QR code generator with dynamic features allows you to update your branding or marketing content without the need to reprint your physical materials.


